Are there beginners in sewing? These sewing hacks will improve your sewing skills! I think there are lots more ways to think about sewing and how to easily improve the way you sew on a sewing machine. It may sound silly to use washi tape as a tool that can save time and frustration but it can. Sometimes special or unique tools aren’t needed but simple needles and threads are sufficient. These 20 hacks will make sewing much simpler! Do you hate the way my jeans slip off? There is a sewing hack to make the jeans tighter! There are soo many hacks I had a hard time choosing which ones to share, so don’t worry I will show you a cool hack that you can apply to many sewing projects not just one! Want to create invisible stitching on your sewing project? I got you covered.
Whether you’re a beginner or a seamstress-level maker, you will love these 20 sewing hacks I learned from my grandma. I use some of these sewing hacks almost on a daily basis and of course, a few of the sewing tricks are used only on a special project. My hope is this list helps you gain some new sewing hacks that help you pull off that sewing project a little quicker. A little clever use of tape, pencils, and more can really kick your sewing up a notch, making even a beginner look like they’ve been sewing for years. Grab your sewing machine and put some of these sewing tips to use today.
Grandma’s Sewing Hacks & Tricks
Number One Sewing Pattern Hack
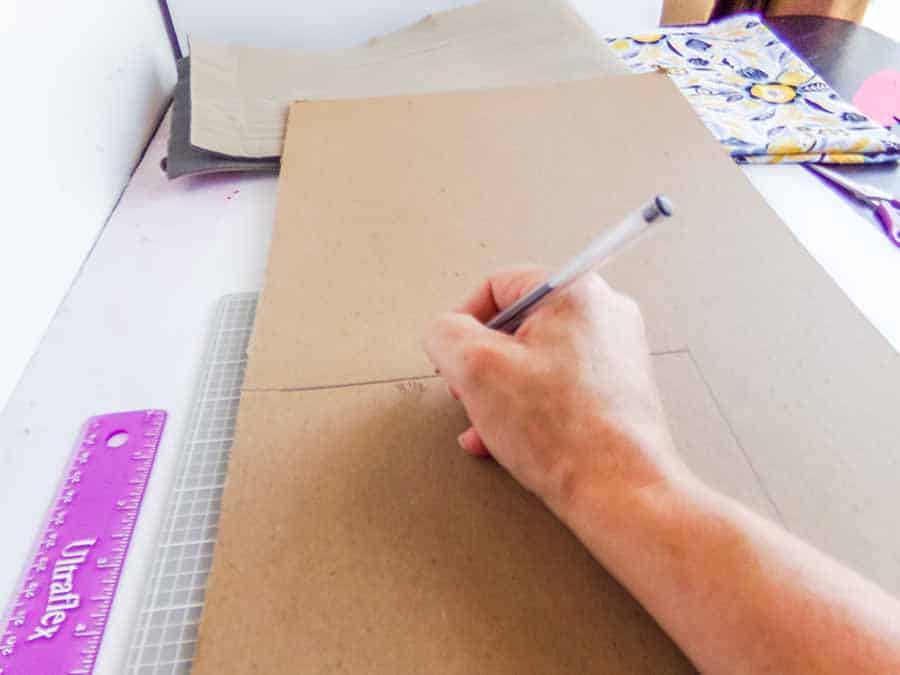
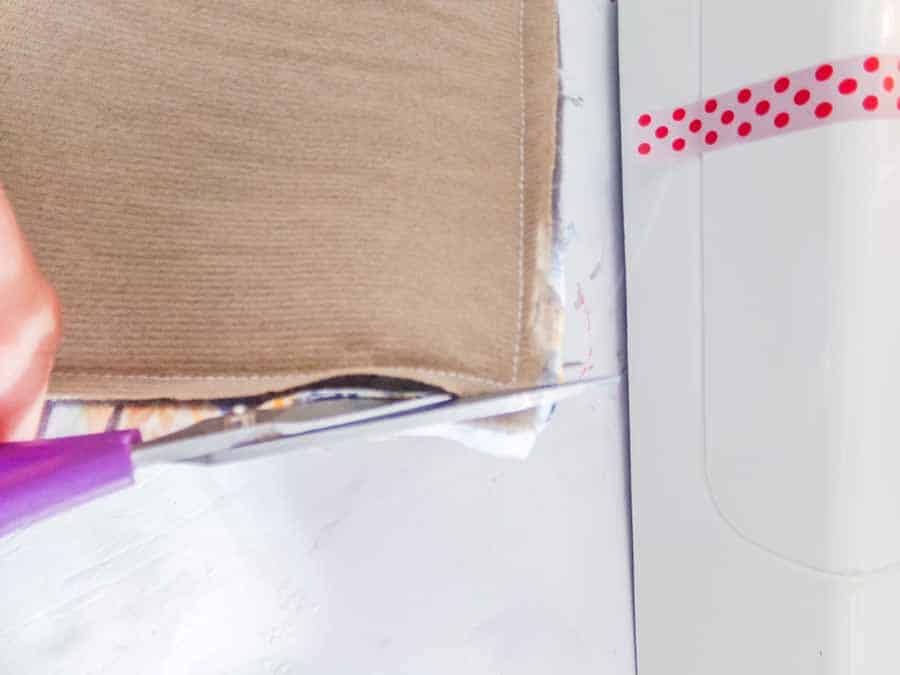
1. The Pattern Hack. If you have sewn for any amount of time you know keeping and reusing patterns can be a pain. Most skirt patterns are printed on flimsy, floppy paper–or even worse that tissue paper stuff. Trace your paper dress pattern onto cardboard, craft or butcher paper, or even craft foam to keep your pattern from flopping around so much that you can’t trace it onto your fabric. This hack is great for those patterns that you sew often.
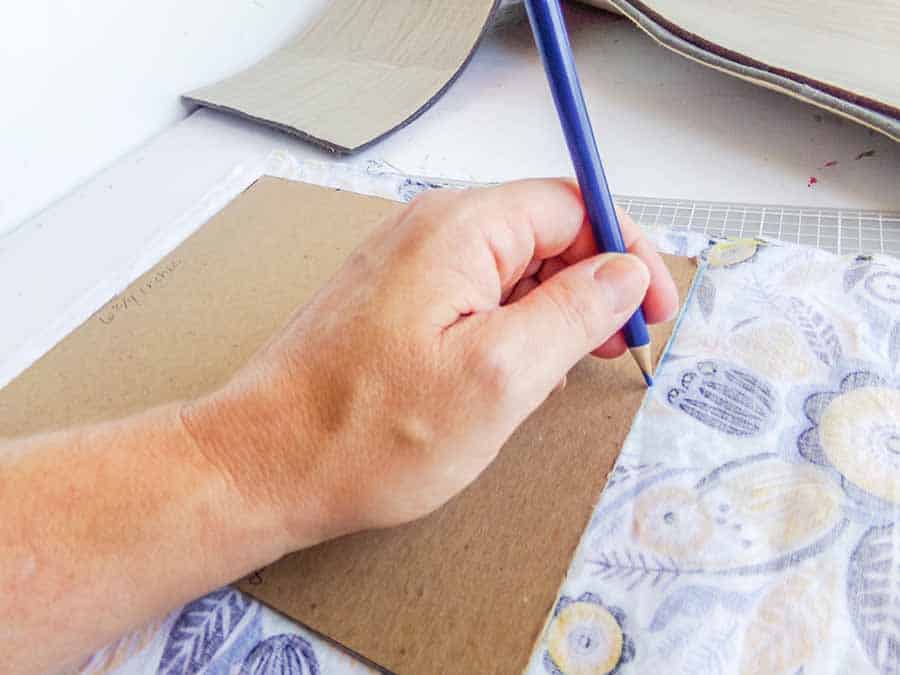
2. Colored Pencils or Washable Pens. Speaking of tracing your pattern onto the fabric, use colored pencils (washable, of course) with similar color as the fabric so that if some residue is left, it will blend into the pattern better. Always make sure you have two pencils incase one breaks you don’t have to run out of your sewing room to sharpen it.

3. Pin Corners. Instead of pinning every ¼ inch, pin just the corners, if your piece is small. This will not only reduce the 10 minutes you spend putting pins in and taking pins out, but it will also reduce the number of ripples and potential wrinkles caused by over-pinning. I would not recommend using a Safety pin.

Best Hack to Mark Seam Allowance
4. Mark Seams and hems. When sewing your seams or hems, it’s incredibly helpful to have a line to follow–because sewing straight is hard sometimes. So, remember this sewing hack to mark seams and make sure you have a perfect line to follow, rubber band two colored pencils together and draw your seam allowance line. This hack is especially helpful when a pattern doesn’t have a seam allowance.
Washi Tape Sewing Hacks
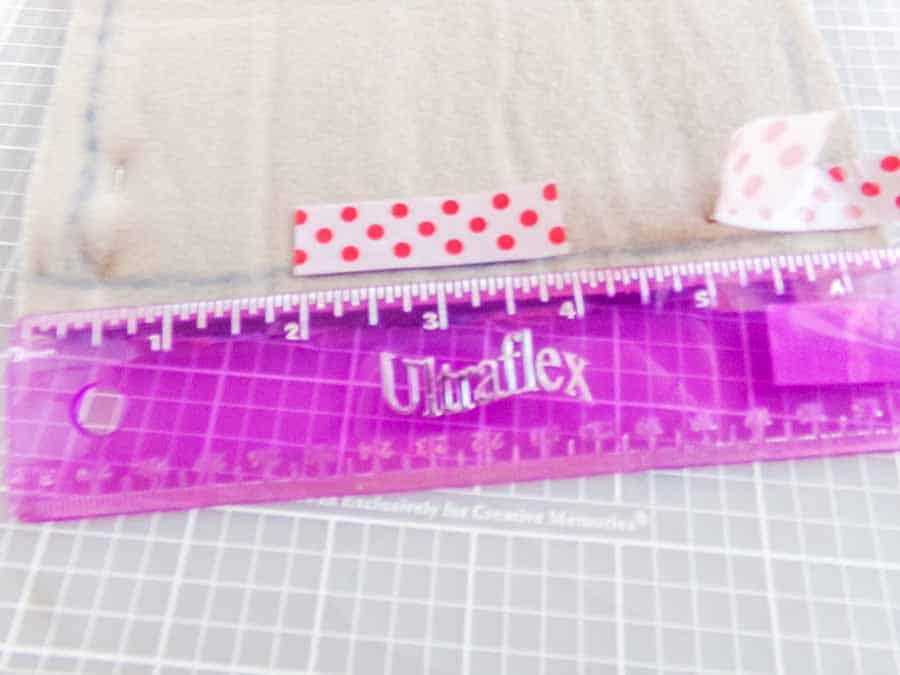
5. Washi Tape Seam and Hem Guides. No colored pencils? Use washi tape placed along the edge of your fabric to make a Seam guide. It works well since the tape leaves no residue on your fabric just make sure you don’t stick it to your sewing pattern. Don’t have washi tape, then grab some painter’s tape as it works just as well.
6. Washi Tape Interior Line Guides. If you have interior sewing lines you want to make, for example in a quilted piece or similar, you can mark these without a pencil using washi tape–and they’ll be straight! It is a fun and handy trick to put to use on your sewing projects.
7. Washi Tape Double Hem Guides. If you plan to make a double hemline, use washi tape to mark where the two hemlines should go. Not only will this give you a nice straight line, but it will be very easy to see if they are even along the length of the hemline. Don’t be afraid to use some of these sewing hacks whether you are quilting or sewing clothes the hacks will come in handy.

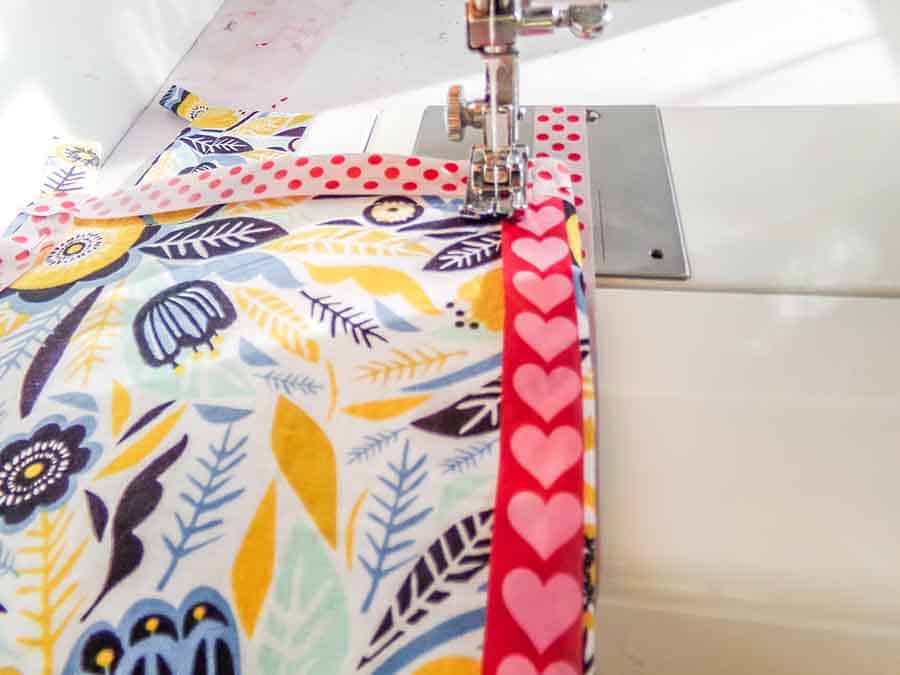
Sewing Machine Tip for Corners:
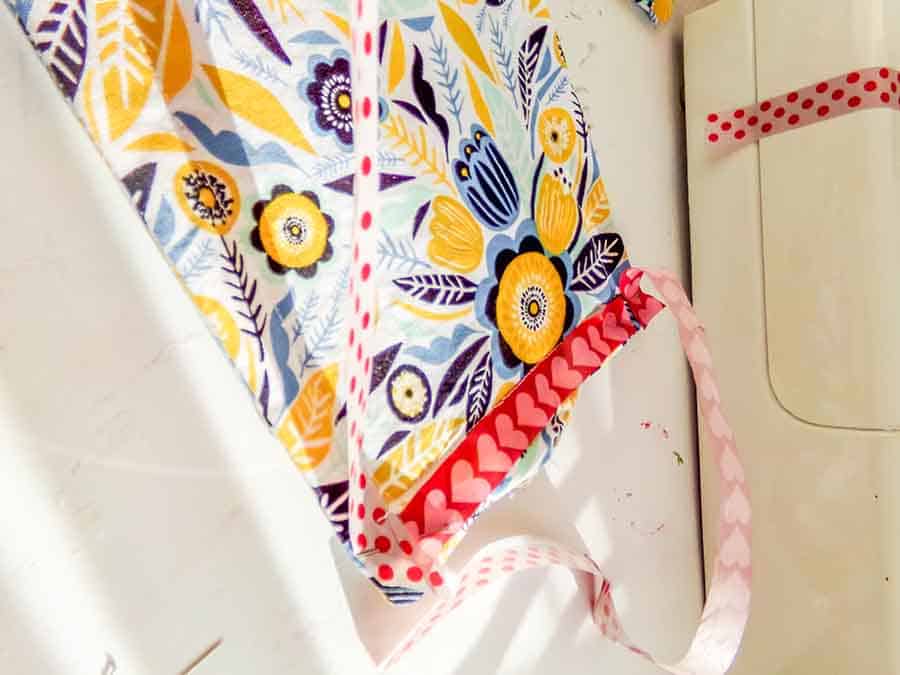
8. Non-Stop Corners. If you want to make nice, clean-cut corners, it all starts with a non-stop hem line. This is where you stop sewing, but don’t close your hem, just leave the needle in the hem, then turn the piece in the sewing machine. Start running your hem again along the other side.
9. Angled Corners. To make an even nicer-looking corner, it can be about reducing bulk. So, before you hem, or afterward, you can trim away the excess fabric extending past the hem line at an angle to help keep that bulk down. Don’t worry we have many more tips and tricks for actual sewing and crafting.
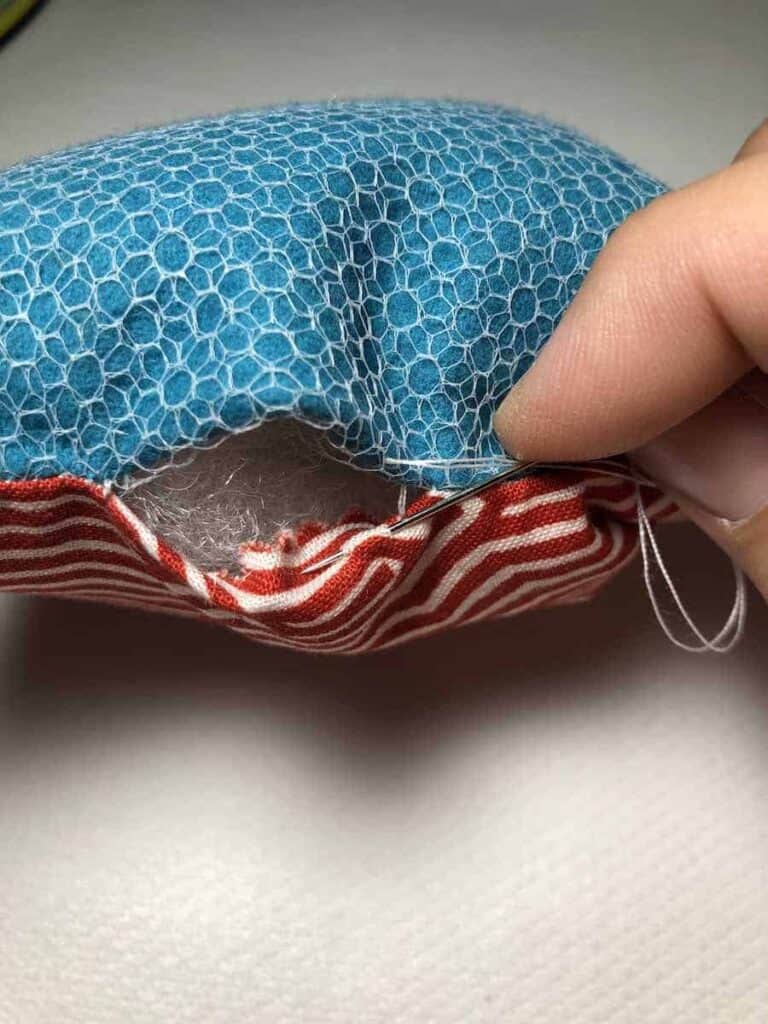
How to Sew Invisible Stitches
10. Ladder Stitch. To make a super clean-looking seam when you finish your piece, consider using a Ladder Stitch. This is going to spread the seam out and make a thicker plane of sewn area. I practice this stitch with an old t shirt.
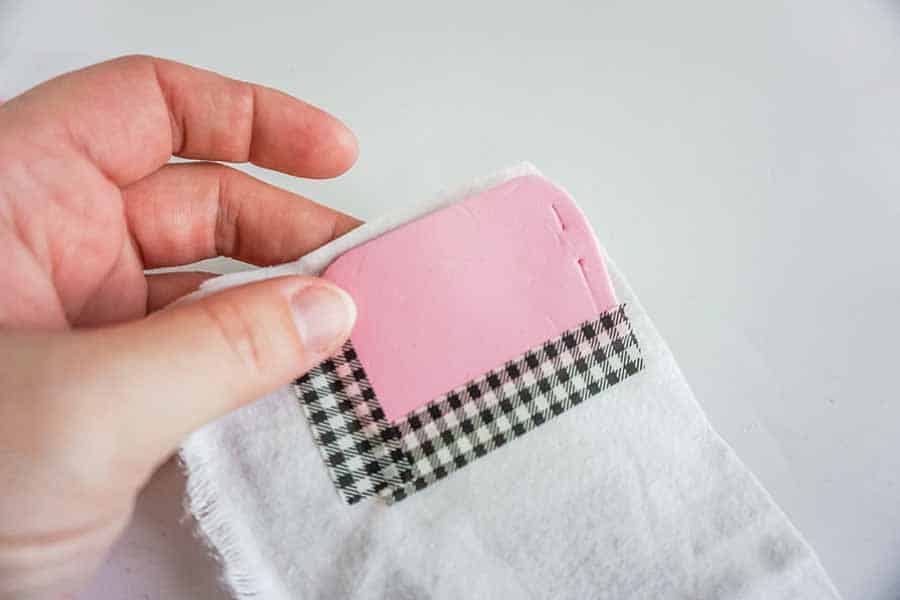
11. Tape Pin Replacer. If you don’t have any pins, this tip is going to be amazing for you. Just use washi tape or painter’s tape to hold your two pieces of fabric together! Just fold it over the edge of one and capture the edge of the other. I recommend running this along the entire edge, or at least a long length of the edge, to get the most clean hem line.

How to Easily Sew Circles
12. Circle Guide. Sewing shapes that are curved or angled can be hard to accomplish. If you struggle with sewing circular patterns you know that it can be hard to find the perfect stitching pattern. The hack for this is to use a guide. When you’re making a circle or other complex shape, you can create and cut this shape from cardboard or craft foam and then tape it down using washi tape to the fabric. Be sure to place it not along the hem line, but rather measure the width of your sewing machine foot and place your shape along that line (you may want to trim your shape down as well). Then you can use the form to get your circle shape sewn correctly.
13. Tape Bracelet. I love a good pin cushion, but sometimes I can’t find it. So, if that’s the case, I just wrap a strip of tape, sticky side out, around my wrist, then stick the pins on it as I pull them out!
Here’s a hack for sewing that makes turning corners a breeze:
14. Corner Guide. Just like with the circle shape above, if you want corners that are rounded or some other shape, to get them all the exact same angle, you can cut one shape from craft foam or cardboard, then place that corner guide in place when you go to sew each corner. This makes sewing easier no matter the project you are making on your sewing machine.
Tips for Reducing Bulk when You Sew:
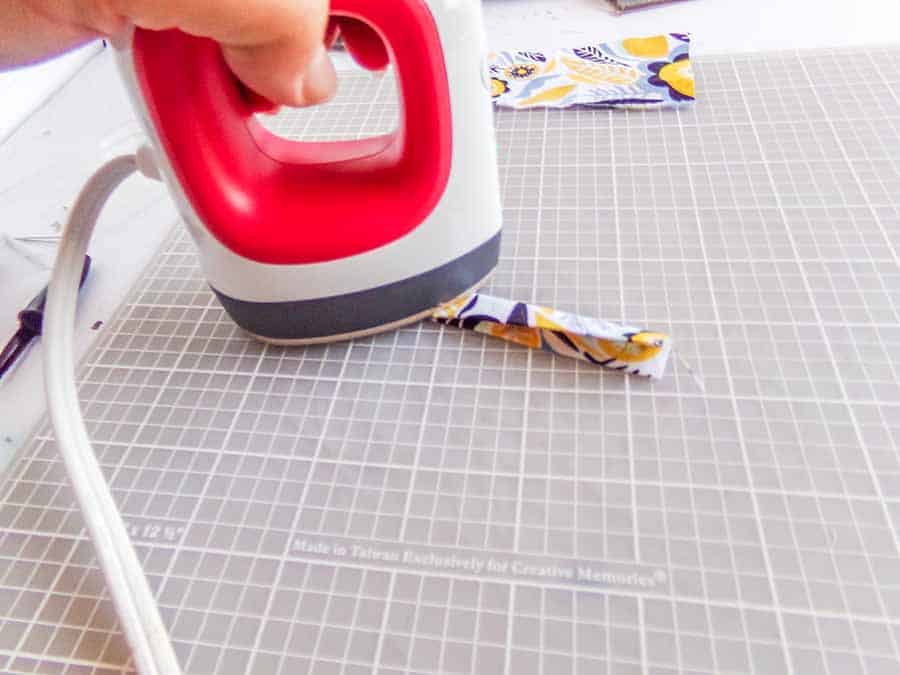
15. Reduce Bulk at Hems by Ironing. If your hems are sticking out, and bulky looking, you can spread them out, then iron them flat. Then, fold the hem how you’d like them to look and iron them once more then simply sew. This layered ironing action will reduce the bulk significantly. You can use this great Mini Press for ironing.
Threading a Needle Hack:
16. Spray Thread End. A lot of times, I have a terrible time threading the needle. So, to keep this from becoming the most frustrating moment of my life, I like to lightly spray the end of the thread with hairspray. This will help the threads stick together and be a little stiff so that you can get that thread into the eye. I keep this hairspray in my sewing room as I use it often when making crafts and sewing projects. I still have a few more sewing hacks to share with you.

Hand Sewing Stitches Hack:
17. Finger Stitch Markers. This is one of my grandmas’ clever sewing tips to make sewing easier. The stitches can be difficult when you have to sew by hand. When you’re hand stitching, I find that I am always disappointed with the results because my stitches are uneven and wonky looking. So, to solve this, place two marks on your finger or thumb to use as a guide to making the stitches with thread super-even and clean-looking while you stitch.
Ribbon & Fabric Fraying Hacks:
18. Washi Tape Reduces Fraying. If you have a fabric that frays immediately upon cutting it (pretty frequently in my case), you can put washi tape on the edge of the fabric to keep that fraying from happening. Whether you’re doing this with the piece you’re sewing or the remnant fabric you’re saving, either way, you’ll be happy your fabric isn’t frayed when you are sitting in front of the sewing machine.
19. Burn Ends of Ribbons. When it comes to sewing hacks this is one of the tips I use often to create crafts. If you’re working with ribbons, one of the annoying things can be the fraying at the ends–constantly. Good news is that you can quickly run a flame across the end of the ribbon to eliminate the fraying.
Keep your Scissors Sharp:
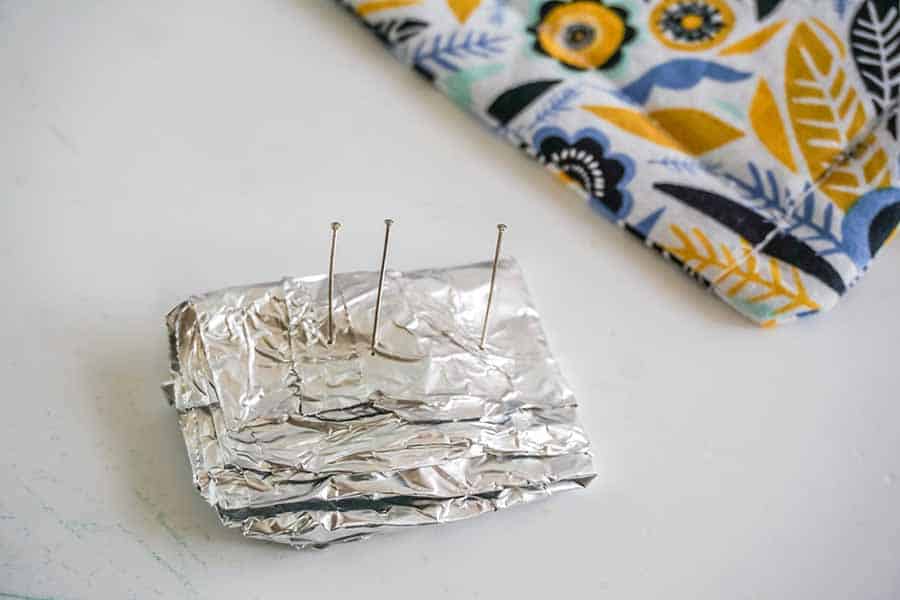
20. Sharpen Scissors, Pins and Needles. I find that I get frustrated when my scissors, needles and pins don’t slide right through my fabric when sewing. It turns out, sometimes it’s not the fabric’s fault. First, make sure you only use scissors to cut fabrics. If you use scissors to cut paper it will dull your scissors. You can try to sharpen your pins and needles just like you would your scissors–by poking a folded-up piece of aluminum foil! Note this won’t sharpen a sew of completely dull scissors but will help to sharpen that cutting edge. Remember this is a sewing trick not a miracle worker. But this is one of many sewing hacks to save fabric scissors.
Weren’t all of these sewing hacks fabulous? It’ll take your sewing skills up a notch for sure and help you approach sewing with ease. On your next project grab your sewing machine and put some of these sewing tips to use. We hope you enjoyed learning with us. What sewing tips and tricks did your grandma teach you? Maybe it has something to do with a measuring tape, clear nail polish, or a hack to hem jeans? Let us know in the comments!
If you liked these 20 sewing hacks from grandma that will make your life easier, make sure to pin it to your favorite Pinterest board or share it with friends on social media. If you decide to make it take a picture afterward and tag us on social media as we love seeing the fabrics and color choices others make.
Thank you so much for all these sewing hints. These are things I never would have thought of.
These are great. I thought I knew all the tips and tricks out there, I was wrong! Thank you!
Thank you
I saw you are using a mini press. I’ve never heard of this and looked it up on Amazon to see what it does. Do you use this when pressing seams when sewing? I need a good mini iron and was intrigued by this but don’t have a use for a heat press but if it would be good for sewing, I’d give it a go.
Love your blog. Almost always find something interesting. Thank you.