I was using my dish sponge, you know those blueish ones you can buy at the store, to clean up after dinner and realized there has to be a better way as it always gets smelly after so many uses. My husband said why don’t you make a sponge that can be cleaned and reused. Well if you know me, I like a good challenge, plus I love when I can sew a project that is also helping the environment. I didn’t want this DIY zero-waste kitchen sponge to be plain jane so I went with patterned fabric and I like how they turned out. As with all the sewing projects I do, you can customize with colors or patterns of fabric to your liking and style.

Printable PDF Version of how to sew a Reusable Kitchen Sponge - This PDF version has been optimized for printing and you won’t need to access the internet every time you want to make it. If you would like to purchase an ad free printable version of this sewing tutorial, please visit our Etsy Shop listing for Reusable Kitchen Sponge - PDF Download & you can purchase a PDF downloadable version of this zero waste sponge tutorial or you can keep reading for the free version of this tutorial.
Supplies for Kitchen Sponge

- Two coordinating fabrics – I used pre-cut cotton squares and solid flannel
- Heavyweight tulle (or nylon net)
- Ribbon (1/4” – 1/2”)
- Poly-Fil Stuffing
- Thread
- Scissors
- Rotary cutter and mat
- Sewing Pins or clips
- Needle for hand-stitching
- As with most sewing projects you will need an iron, ironing board, and sewing machine.
DIY Zero-Waste Kitchen Sponge
Wash, dry, and press fabrics if desired. For the fabrics, I have found that the end result has fewer flaws when I pre-prep my fabrics with wash, dry and press. It is not necessary to wash/dry tulle, and do not iron it. Now your fabric is prepped let’s get started on the DIY zero-waste kitchen sponge.

Using a rotary mat and cutter, cut both fabrics and the tulle into 5” squares. Cut as many squares as you would like to have finished sponges out of all fabrics. If you prefer your sponges to be a rectangle shape, feel free to cut them in that shape instead! Depending on how many sponges you plan to make, it can be faster to cut 5” strips of fabric and use your rotary cutter to “slice off” 5” squares. You can also layer your fabric for faster cutting! I did squares because I had the pre-cut squares on hand.

We will be making fabric “sandwiches” next. On the bottom, place a flannel square. Then layer two squares of tulle. Turn one layer 90 degrees so the tulle is not aligned – better scrubbing power! Then finish your “sandwich” with a patterned square, face down. Pin once or twice in the middle of the square to hold.

If you wish for your sponge to have a loop to hang it with, cut a 4-5” strip of ribbon.

Fold it as shown in the photo, and sandwich it between the tulle and the patterned piece (look closely at photos!). Pin once to hold the ribbon in place.

Using ¼” seam allowance, stitch around an individual square.

Be sure to leave a 1.5” opening in the middle of one side. See photo for reference on where to leave the opening. Be sure to backstitch on both sides of the opening when initially sewing the “sandwich” together. You may also want to backstitch over the ribbon to reinforce strength for hanging the sponge.

Snip the corners to cut down on bulk inside the sponges.

Through the 1” opening, turn the fabric right side out. Be sure to turn so that the patterned fabric is on one side, while the tulle AND the flannel are on the other. This will allow the scrubbing side to be more durable. Gently use a turning tool to push out the corners and sides of the squares.

Fold the opening in (it should already be tucked in slightly) and hand press all the way around the sponge.

Using the small opening, stuff the sponge with stuffing. You’ll want to pack it quite a bit, but not too much – it will be hard to sew through if you put too much!

Close the opening using a hand-sewn invisible stitch. This can also be called a blind stitch or ladder stitch. See directions below (there are photos for each step):

a. Using the same color thread as before, thread a needle and tie a knot at the end.

b. Insert your needle from underneath and inside one folded side of the opening.

c. Go across to the other side of the opening and insert your needle along the top edge of the fold. You’ll want to pick up a small amount of fabric along the fold and poke the needle back out.

d. Repeat the last step coming across to the side you began with. Continue going back and forth between fabrics with the small stitches along the top edge of each folded side. It will begin to resemble a ladder.

f. Pull your stitches tight (but not too tight, or it will bunch!) to close your opening.

g. Insert your needle under your last stitch and come back out of the fabric, then pull your thread tight through the thread loop you created. This will tie a knot in the thread. Repeat once more to secure the knot.

h. Insert your needle into the seam right next to the knot you made. Push your needle through the “pillow” of the sponge and come out in the middle somewhere. Pull tight and trim the end of your thread – it will enclose the end of the thread inside the sponge, so you have no loose ends to snip off.
Topstitch around the whole sponge about an inch in from the edge. This will create a square in the center of your sponge, which will hold the stuffing evenly in place throughout the sponge. Feel free to try an “x” shape as well if you’d like!
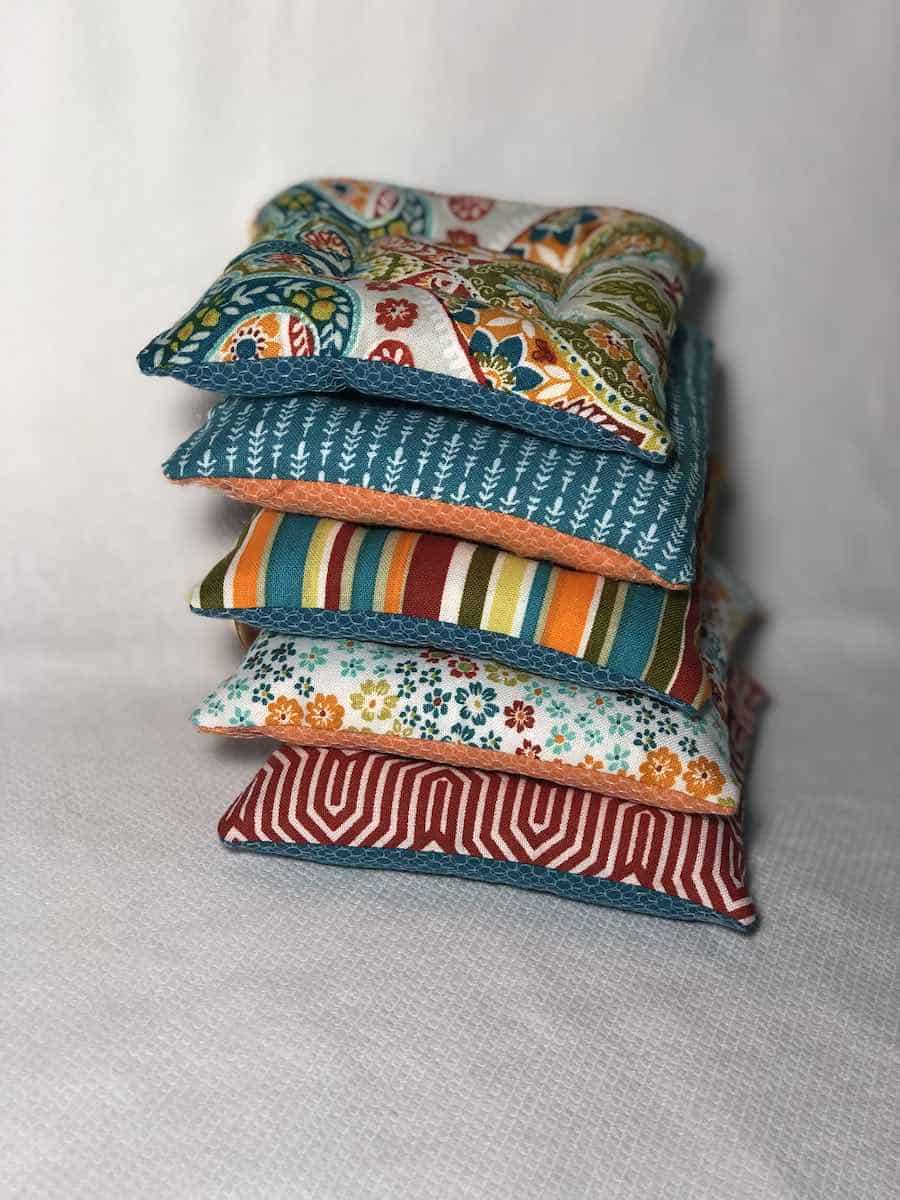
Your sponge is finished and ready to use!

To keep your DIY zero-waste kitchen sponge ready to go and smelling fresh make sure to wash and dry frequently. Always squeeze out excess water when you are done using your sponge. Wash your kitchen sponge frequently in the washing machine. I recommend making multiple, so you always have one when another is being washed!
If you loved this DIY zero-waste kitchen sponge tutorial make sure to save it to your favorite Pinterest sewing or zero-waste board.

DIY Zero Waste Kitchen Sponge
Easy step by step tutorial on how to make zero-waste reusable kitchen sponges.
Materials
- Pre-cut cotton squares
- Solid flannel
- Ribbon
- All-Purpose Thread
- Heavyweight tulle
- Poly-Fil Stuffing
Tools
- Iron
- Ironing Board
- Scissors
- Sewing Machine
- [Rotary Cutter and Mat
- Sewing Pins
- Needle for hand-stitching
Instructions
- Wash, dry, and press fabrics if desired. It is not necessary to wash/dry tulle, and do not iron it.
- Using a rotary mat and cutter, cut both fabrics and the tulle into 5” squares. Cut as many squares as you would like to have finished sponges out of all fabrics. If you prefer your sponges to be a rectangle shape, feel free to cut them in that shape instead! I did squares because I had the pre-cut squares on hand.
- We will be making fabric “sandwiches” next. On the bottom, place a flannel square. Then layer two squares of tulle. Turn one layer 90 degrees so the tulle is not aligned – better scrubbing power! Then finish your “sandwich” with a patterned square, face down. Pin once or twice in the middle of the square to hold.
- If you wish for your sponge to have a loop to hang it with, cut a 4-5” strip of ribbon. Fold it as shown in the photo, and sandwich it between the tulle and the patterned piece (look closely at photos!). Pin once to hold the ribbon in place.
- Using ¼” seam allowance, stitch around an individual square. Be sure to leave a 1.5” opening in the middle of one side. See photo for reference on where to leave the opening.
- Snip the corners to cut down on bulk inside the sponges.
- Through the 1” opening, turn the fabric right side out. Be sure to turn so that the patterned fabric is on one side, while the tulle AND the flannel are on the other. This will allow the scrubbing side to be more durable. Gently use a turning tool to push out the corners and sides of the squares.
- Fold the opening in (it should already be tucked in slightly) and hand press all the way around the sponge.
- Using the small opening, stuff the sponge with stuffing. You’ll want to pack it quite a bit, but not too much – it will be hard to sew through if you put too much!
- Close the opening using a hand-sewn invisible stitch. This can also be called a blind stitch or ladder stitch. See directions below (there are photos for each step):
- Using the same color thread as before, thread a needle and tie a knot at the end.
- Insert your needle from underneath and inside one folded side of the opening.
- Go across to the other side of the opening and insert your needle along the top edge of the fold. You’ll want to pick up a small amount of fabric along the fold and poke the needle back out.
- Repeat the last step coming across to the side you began with.
- Continue going back and forth between fabrics with the small stitches along the top edge of each folded side. It will begin to resemble a ladder.
- Pull your stitches tight (but not too tight, or it will bunch!) to close your opening.
- Insert your needle under your last stitch and come back out of the fabric, then pull your thread tight through the thread loop you created. This will tie a knot in the thread. Repeat once more to secure the knot.
- Insert your needle into the seam right next to the knot you made. Push your needle through the “pillow” of the sponge and come out in the middle somewhere. Pull tight and trim the end of your thread – it will enclose the end of the thread inside the sponge, so you have no loose ends to snip off.
- Top stitch around the whole sponge about an inch in from the edge. This will create a square in the center of your sponge, which will hold the stuffing evenly in place throughout the sponge. Feel free to try an “x” shape as well if you’d like!
- Your sponge is finished and ready to use!
Notes
Be sure to backstitch on both sides of the opening when initially sewing the “sandwich” together. You may also want to backstitch over the ribbon to reinforce strength for hanging the sponge.
Depending on how many sponges you plan to make, it can be faster to cut 5” strips of fabric and use your rotary cutter to “slice off” 5” squares. You can also layer your fabric for faster cutting!
Recommended Products
As an Amazon Associate and member of other affiliate programs, I earn from qualifying purchases.
-
 Fairfield 100% Polyester Poly-Fil 20 oz, 20 Ounce, Waterfall
 -
 Robert Kaufman Kaufman Shetland Flannel Solid Navy Fabric By The Yard
 -
 100 Assorted Pre Cut Charm Pack 5" Squares 100% Cotton Fabric Quilt
 -
 AmazonBasics Multipurpose Office Scissors - 3-Pack
 -
 Best Beginner Sewing Machines
 -
 Fiskars Crafts 95237097J Rotary Sewing Cutting Set (3 Piece), Grey
