Are you eager to find a way to have plenty of scrunchies at your disposal? I mean, how do they get lost all the time anyways? Or maybe you have a child who just goes through scrunchies rapid-fire left and right. If that is the case, you’re going to love this how to crochet a scrunchie tutorial. It’s not only a simple crochet project to do, but it’s a practical and useful one as well!

Once you learn how to make your own scrunchies at home, just think about how much money and time you’ll save by not having to run to the store. The next time that your child comes up to you and says that they’ve lost their scrunchies, all you have to do is whip out your yarn and make one up.
Or better yet, have your child sit down next to you and learn how to make their own, too! This simple project is a lot of fun and results in a totally useful item! You’re going to love this simple crochet tutorial.
SUPPLIES FOR CROCHET SCRUNCHIE TUTORIAL

HOW TO CROCHET A SCRUNCHIE

Start by tying one end of the yarn to the hair band. Make sure you leave a little tail as we will crochet over it to hold it in place.

Wrap the yarn over the hook, then put the hook through the center of the hair tie. Grab the yarn on the other side and pull it back through the hair tie, then pull it through the loop on the hook.

Now we need to do a chain of 6. To do that, you simply pull the yarn through the loop on the hook. Then repeat the step six times to get that chain of 6.

Loop the yarn over the hook two times. It should look like a total of 3 loops on the hook.

Put the hook through the center of the hair tie.

Grab the yarn and pull it back through the hair tie. You should now have a total of 4 loops on the hook.

Grab the yarn and pull it through the first two loops on the hook.


Grab the yarn again and pull it through the three loops on the hook.

Next in this how to crochet a scrunchie tutorial, we need to do a chain of two. This is done by grabbing the yarn and pulling it through the loop. Do it two times for a chain of 2.

Starting at step 4, keep repeating steps 4-9 to work your way around the hair tie. Just take your time here and you’ll be fine.

When you get a bunch done, push them together so they are tightly bunched. Then keep repeating steps 4-9. You are about halfway through this Crochet scrunchie tutorial!

When you get to the end and can not fit anymore, you need to end on your chain of two. After you have a chain of 2, put the hook through the open starting loop.

Grab the yarn and pull it through the starting loop and then through the loop on the hook.

Now using the scissors, cut the yarn from the rest of the skein, leaving about two inches. Then, pull your loop all the way through until the yarn is pulled through.

Using the hook, put it through the loop just to the left of the one you just tied off. Grab the tail of the yarn and pull it through to make a loop.

Then grab the tail again and pull it all the way through that loop to tie it off again. Trim off any leftover yarn and you are finished with this how to crochet a scrunchie tutorial!! Now that you know how to crochet your own scrunchies, you’ll never have to pay in-store prices again. This is an easy one to teach the kids, so they can make their own in whatever colors they want.

Tips For Making This Crochet Scrunchie
Make certain that you take your time when making this crochet scrunchie. Since there are a few steps, the pictures are going to come in very handy during this process. And if you mess up, just start over and try again.
This DIY crochet scrunchie makes an amazing gift idea as well. Add it to your Christmas packages for teens and tweens or just give them a “because” gift when it’s done.
Have fun and choose some fun and funky yarn colors as well. It’s a good idea to always make more scrunchies if you can because as we all know, you can never have too many scrunchies!

If you liked this how to crochet a scrunchie tutorial, make sure to pin it to your favorite Pinterest board or share it with friends on social media. If you decide to make this simple project on your own, make certain that you take a picture afterward and tag us on social media as we love seeing the fabrics and color choices that people use!
How To Crochet A Scrunchie Tutorial

Want to learn how to crochet? Making this DIY scrunchie is so simple and easy to do! This is a fun project to start out on that is both fun and not too hard. You can make several in no time! Make some for your and give some as gifts!
Tools
Instructions
- Start by tying one end of the yarn to the hair tie. Make sure you leave a little tail as we will crochet over it to hold it in place.
- Wrap the yarn over the hook, then put the hook through the center of the hair tie.
- Grab the yarn on the other side and pull it back through the hair tie, then pull it through the loop on the hook.
- Now we need to do a chain of 6. To do that you simply pull the yarn through the loop on the hook.
- Repeat the step six times to get that chain of 6.
- Loop the yarn over the hook two times. It should look like a total of 3 loops on the hook.
- Put the hook through the center of the hair tie.
- Grab the yarn and pull it back through the hair tie. You should now have a total of 4 loops on the hook.
- Grab the yarn and pull it through the first two loops on the hook.
- Grab the yarn again and pull it through the three loops on the hook.
- You need to chain two. This is done by grabbing the yarn and pulling it through the loop.
- Do it two times for a chain of 2.
- Starting at step 4 keep repeating step 4-9 to work your way around the hair tie.
- When you get a bunch done, push them together so they are tightly bunched. Then keep repeating steps 4-9.
- When you get to the end and can not fit anymore you need to end on your chain two.
- After you have a chain of 2, put the hook through the open starting loop.
- Grab the yarn and pull it through the starting loop and then through the loop on the hook.
- Now using the scissors cut the yarn from the rest of the skein leaving about two inches.
- Pull your loop all the way through until the yarn is pulled through.
- Using the hook put it through the loop just to the left of the one you just tied off, grab the tail of the yarn and pull it through to make a loop.
- Then, grab the tail again and pull it all the way through that loop to tie it off again.
- Trim off any leftover yarn and you are finished!
Recommended Products
As an Amazon Associate and member of other affiliate programs, I earn from qualifying purchases.
-
 Patons Classic Wool Yarn - Medium Gauge 100% Wool - 3.5oz - Seafoam - For Crochet, Knitting & Crafting
 -
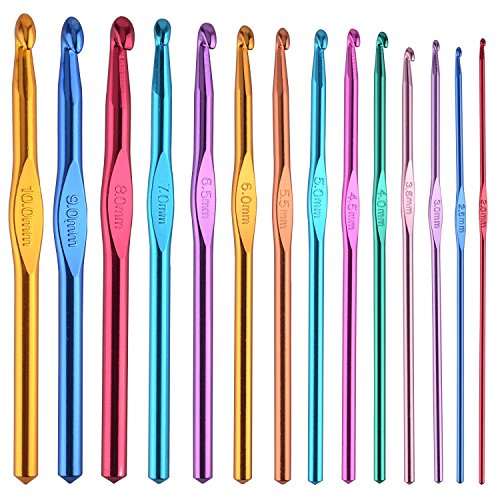 BCMRUN 14 pcs Multicolor Aluminum Crochet Hooks Knitting Needles Craft Yarn 2-10mm
 -
 LIVINGO Premium Tailor Scissors Heavy Duty Multi-Purpose Titanium Coating Forged Stainless Steel Sewing Fabric Leather Dressmaking Softgrip Shears Professional Crafting (9.5 INCH)
