Gathering aprons are a great way to add a touch of style and practicality to your wardrobe. Whether you’re a gardener, raise chickens, or just someone who loves to have all the pockets when you’re crafting, a gathering apron is the perfect accessory. Not only do they look great, but they also provide plenty of pockets for all your tools and supplies.
With a gathering apron pattern, you can make your own apron with pockets that will last for years to come. Making a gathering apron is a fun and easy project that anyone can do. All you need is a gathering apron pattern, some fabric, and a few basic sewing supplies. With the right pattern, you can make a pocket apron that is both stylish and functional. So why not give it a try? With a gathering apron pattern, you can make your own apron with pockets in no time.

Before we dig into this tutorial for how to make a gathering apron, we need to answer the question: “What is a gathering apron?” A gathering apron is a type of apron that is designed to be worn while gathering items such as fruits, vegetables, and herbs. It typically has a large pocket in the front for storing items and is made from a lightweight fabric that is easy to move around in.
A gathering apron makes a great gift idea for anyone that spends time in the garden – and would make a fantastic set if made with this farmer’s market tote. Imagine getting a coordinated set of items you could use for your favorite hobby! That would be awesome.
If you’d like more fun ideas for making a gift for someone special, be sure to check out our Easy Sew Christmas Gifts. You’re sure to find something they’ll love on this list!
So, whether it’s for you or a friends, let’s get sewing!

A Note About Choosing the Right Fabric for Your Gathering Apron
In our case, I’m planning on having some heavy fruits and veggies and gardening tools in my DIY gathering apron, so I used canvas. But, when it comes to making a gathering apron, the fabric you choose is important to be customized to your needs.
When selecting fabric for your gathering apron, look for something that is lightweight and breathable. Cotton is a great choice, as it is both durable and comfortable.
You may also want to consider a fabric with a bit of stretch, such as a cotton-spandex blend, as this will allow for more flexibility when you are bending and reaching.
If you are looking for a very durable pocket apron, you may want to choose a heavier fabric such as canvas like mine, or denim. These fabrics are more durable and will hold up better when carrying heavier items.
No matter what fabric you choose, make sure it is easy to clean and maintain. A gathering apron should be able to withstand the elements and frequent washing. With the right fabric and pattern, you can make a gathering apron that is both stylish and functional.

How to Make a Gathering Apron
Printable PDF Version of how to make a Gathering Apron - This PDF version has been optimized for printing and you won’t need to access the internet every time you want to make it. If you would like to purchase an ad free printable version of this sewing pattern & tutorial, please visit our Etsy Shop listing for our Gathering Apron & you can purchase a PDF downloadable version of this easy sewing pattern & tutorial or you can keep reading for the free version of this tutorial.
Materials for Sewing a Gathering Apron
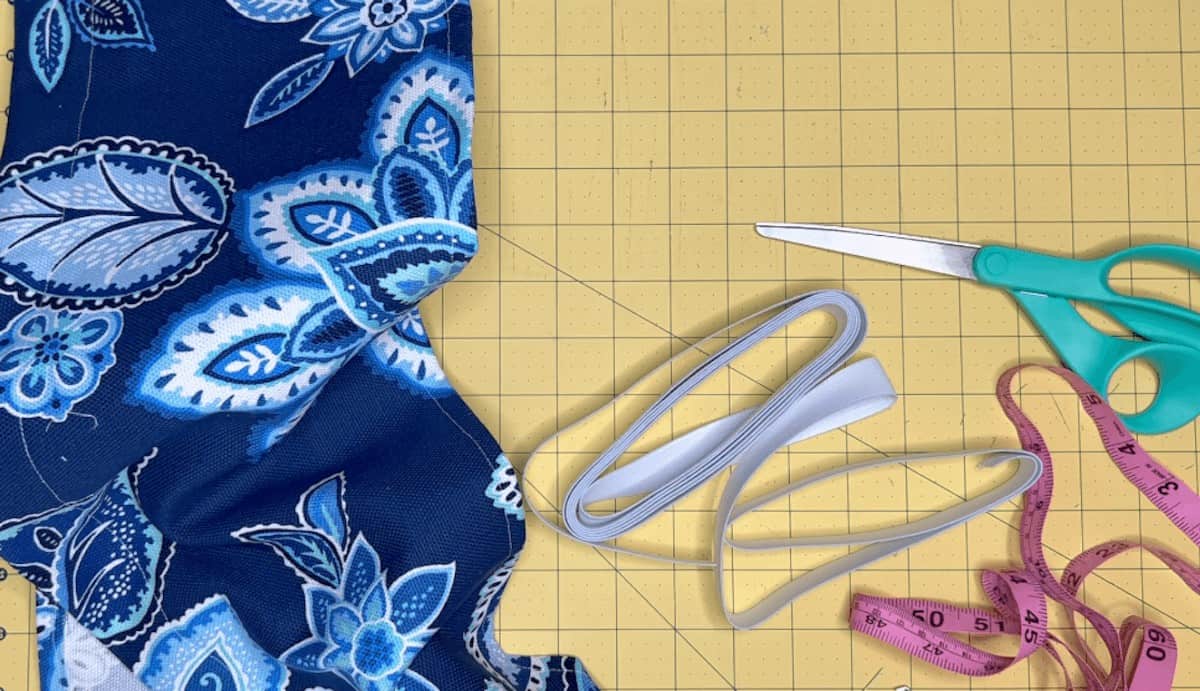
Making an apron with pockets is a great way to make something functional but also beautiful. Whether you’re a beginner or an experienced sewist, you’ll need to gather the supplies for your gardening apron before you can get started. Here’s what you need:
- 1 yard canvas fabric
- 3/4-inch Non-Rolling Elastic
- Iron and ironing board or mat
- Safety Pin
- Tape
- Sewing Needle
- Thread
- Scissors
- Rotary cutter and mat
- Sewing Pins or clips
- As with most sewing projects you will need a sewing machine, however, this project can be sewn by hand.
- Gathering Apron PDF Pattern
Now that you have your pattern and fabric, it’s time to get sewing! Follow the instructions below in the pattern to cut out the pieces and assemble this simple gathering apron.

How to Sew This Free Gathering Apron Pattern
First, before you start any sewing for this free pattern for gathering apron you’ll want to download and print the free pattern on heavy paper or card stock. Assemble the pattern pieces along the match lines to make one piece per element.
Once you have printed and assembled your pattern, cut out the following:
| Apron Body | Cut 2 |
| Top Pocket | Cut 1 |
| Bottom Pocket | Cut 1 |
| Strap | Cut 2 |
| Elastic | Cut 2 at 22-inches |
Printable PDF Version of how to make a Gathering Apron - This PDF version has been optimized for printing and you won’t need to access the internet every time you want to make it. If you would like to purchase an ad free printable version of this sewing pattern & tutorial, please visit our Etsy Shop listing for our Gathering Apron & you can purchase a PDF downloadable version of this easy sewing pattern & tutorial or you can keep reading for the free version of this tutorial.
Wash, drying, and pressing your fabric. This helps preshrink your fabric and prepares it for washing later so that your stitches don’t pull out or fray the first time you wash it. Plus, it helps make the fabric super soft, and pressing it makes it easier to get nice clean cuts. Once you have done this, use your pattern to cut out your fabric pieces according to the cut list above.

Prepare the Strap
Place the two strap pieces right-side to right-side on one end, at a 90-degree angle.
Draw a diagonal line from upper left to lower right corner of the overlapped fabric ends.
Pin in place and sew along the diagonal line.
Trim the excess fabric and discard.

Fold the two long edges of the strap piece inward halfway and pin in place.

Sew the two long sides of the strap piece down on either side, using a 1/2-inch hem.

Fold the strap in half again, with the hemmed edges folded inward. Iron this in place.

Prepare the Pockets
Fold the edges of the two pocket pieces in by 1/4-inch and pin them in place.
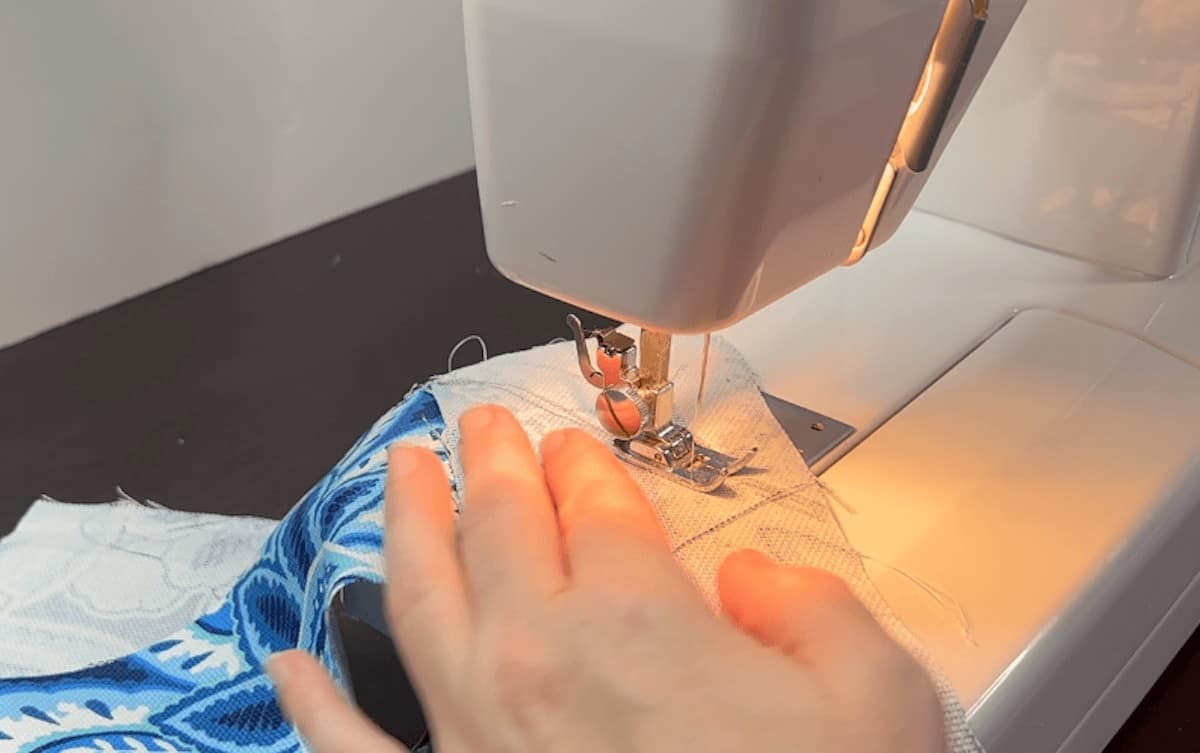
Sew the hem all the way around each of the pocket pieces.

Fold one long side of each hemmed pocket piece over by 1-inch and pin in place before sewing it, creating a wide hem for the elastic.

Fasten the safety pin to the end of one of the pieces of elastic. Feed the elastic through the wide hem of one of the pocket pieces, taking care to pin the elastic in place at both ends of the hem to hold it in place.

Assemble the Apron with Pockets
Place the bottom pocket on the front of one of the body pieces, aligning the bottom edge of the pocket with the long end of the body piece. Take care to center the pocket and place the pocket bottom no closer than 2-inches from the bottom of the body piece. Pin in place.
Repeat for the second pocket, aligning it with the top edge of the pocket, leaving at least 2-inches between the top of the body piece and the top of the pocket. Pin in place.

Top stitch the pockets in place, taking care to catch the elastic ends in the hem on each side of each pocket.

Top stitch separators along the pocket where desired to create dividers. I made three pockets on the top and five on the bottom piece.

Place the remaining body panel to the body panel with the pockets attached. Make sure these are facing right-side to right-side then pin in place. Sew along the two short edges and the bottom long edge (the bottom edge is the edge where the pockets are closed) using a 1/4-inch seam allowance. Make sure to leave the top edge open.
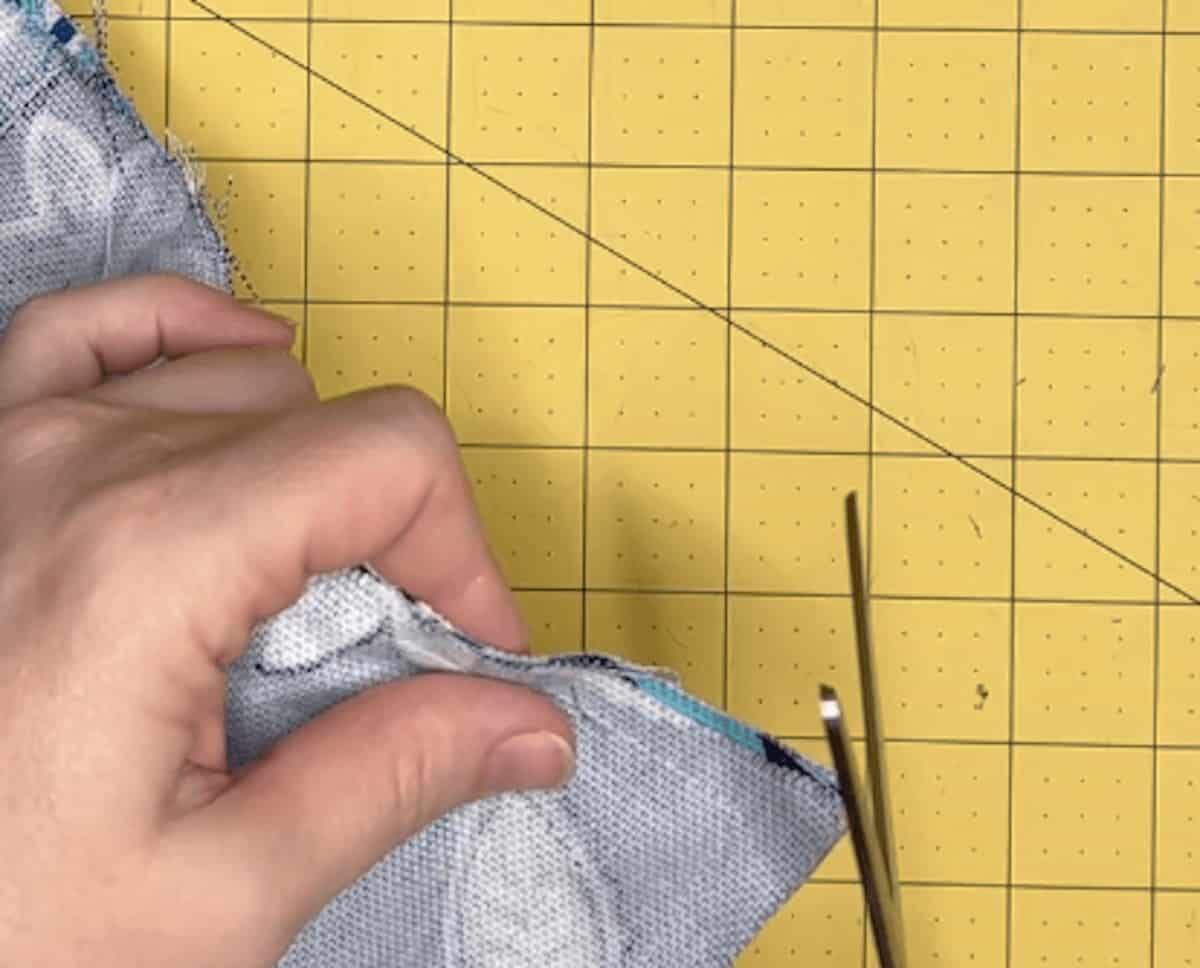
Clip the two bottom corners so that they will turn out nicely, then turn the apron right-side out.

Align the top edges of the two apron pieces and fit the strap around them, centering the strap in the center of the apron body. Pin the strap in place, then pin it along each loose side of the strap to the ends.
At the ends of the strap, tuck the ends inside the fold, taking care to trim back any fabric raw edges that might stick out. Pin this in place before double-hemming along the entire length of the strap, taking care to capture the apron and ends.
And then you’re done with your apron! It’s time to get it customized and ready to wear out foraging or gardening!

Customizing Your Gathering Apron
Your gathering apron is not only a practical tool but also a reflection of your personal style. Here are a few creative customization ideas to make your apron truly unique:
- Embroidery: Add a personal touch to your apron with embroidery. You could embroider your name, a favorite quote, or a beautiful design. If you’re a gardening enthusiast, you might enjoy a floral motif. If you love baking, perhaps an array of cupcakes or a classic rolling pin design.
- Pockets: Play around with pocket sizes and placement. Consider having a mix of large and small pockets, suited for the different tools you use most often. You might even add a hidden pocket on the inside for your phone or other valuables.
- Fabric selection: Who says an apron has to be a single color? Experiment with different prints, patterns, and colors. A patchwork design could be a fun way to use up fabric scraps.
- Trims and extras: Add some decorative trims around the edges or pockets for an extra flair. Buttons, bows, or ribbon ties can also serve as charming additions to your apron.
- Adjustable features: Consider adding adjustable straps or an elastic waistband for additional comfort.
Remember, the key to a great gathering apron is individuality. Let your apron tell a story about you and your passions.
If you liked this easy Gathering Apron Sewing Pattern, make sure to pin it to your favorite Pinterest board or share it with friends on social media. If you decide to make this simple project on your own, make certain that you take a picture afterward and tag us on social media as we love seeing the fabrics and color choices that people use!
How to Make a Gathering Apron
Making a gathering apron with large pockets is a great way to make something functional but also beautiful.
Materials
- 1 yard canvas fabric
- 3/4-inch Non-Rolling Elastic
Tools
- Iron and ironing board or mat
- Safety Pin
- Tape
- Sewing Needle
- Thread
- Scissors
- Rotary cutter and mat
- Sewing Pins or clips
- As with most sewing projects you will need a sewing machine, however, this project can be sewn by hand.
- Gathering Apron PDF Pattern
Instructions
- First, before you start any sewing for this free pattern for gathering apron you’ll want to download and print the free pattern on heavy paper or card stock. Assemble the pattern pieces along the match lines to make one piece per element.
- Once you have printed and assembled your pattern, cut out the following: Apron Body - Cut 2; Top Pocket - Cut 1; Bottom Pocket - Cut 1; Strap - Cut 2; Elastic - Cut 2 at 22-inches
Prepare the Strap
- Place the two strap pieces right-side to right-side on one end, at a 90-degree angle.
- Draw a diagonal line from upper left to lower right corner of the overlapped fabric ends. Pin in place and sew along the diagonal line.
- Trim the excess fabric and discard.
- Fold the two long edges of the strap piece inward halfway and pin in place.
- Sew the two long sides of the strap piece down on either side, using a 1/2-inch hem.
- Fold the strap in half again, with the hemmed edges folded inward. Iron this in place.
Prepare the Pockets
- Fold the edges of the two pocket pieces in by 1/4-inch and pin them in place.
Sew the hem all the way around each of the pocket pieces. - Fold one long side of each hemmed pocket piece over by 1-inch and pin in place before sewing it, creating a wide hem for the elastic.
- Fasten the safety pin to the end of one of the pieces of elastic. Feed the elastic through the wide hem of one of the pocket pieces, taking care to pin the elastic in place at both ends of the hem to hold it in place.
Assemble the Apron with Pockets
- Place the bottom pocket on the front of one of the body pieces, aligning the bottom edge of the pocket with the long end of the body piece. Take care to center the pocket and place the pocket bottom no closer than 2-inches from the bottom of the body piece. Pin in place.
- Repeat for the second pocket, aligning it with the top edge of the pocket, leaving at least 2-inches between the top of the body piece and the top of the pocket. Pin in place.
- Top stitch the pockets in place, taking care to catch the elastic ends in the hem on each side of each pocket.
- Top stitch separators along the pocket where desired to create dividers. I made three pockets on the top and five on the bottom piece.
- Place the remaining body panel to the body panel with the pockets attached. Make sure these are facing right-side to right-side then pin in place. Sew along the two short edges and the bottom long edge (the bottom edge is the edge where the pockets are closed) using a 1/4-inch seam allowance. Make sure to leave the top edge open.
- Clip the two bottom corners so that they will turn out nicely, then turn the apron right-side out.
- Align the top edges of the two apron pieces and fit the strap around them, centering the strap in the center of the apron body. Pin the strap in place, then pin it along each loose side of the strap to the ends.
- At the ends of the strap, tuck the ends inside the fold, taking care to trim back any fabric raw edges that might stick out. Pin this in place before double-hemming along the entire length of the strap, taking care to capture the apron and ends.
Recommended Products
As an Amazon Associate and member of other affiliate programs, I earn from qualifying purchases.


I love the idea of this gathering apron and wondered whether you have instructions for a full gathering apron? Maybe one that crosses in the back with the same front pockets? Eliminating a waist tie seems like it might be more comfortable. Thanks!