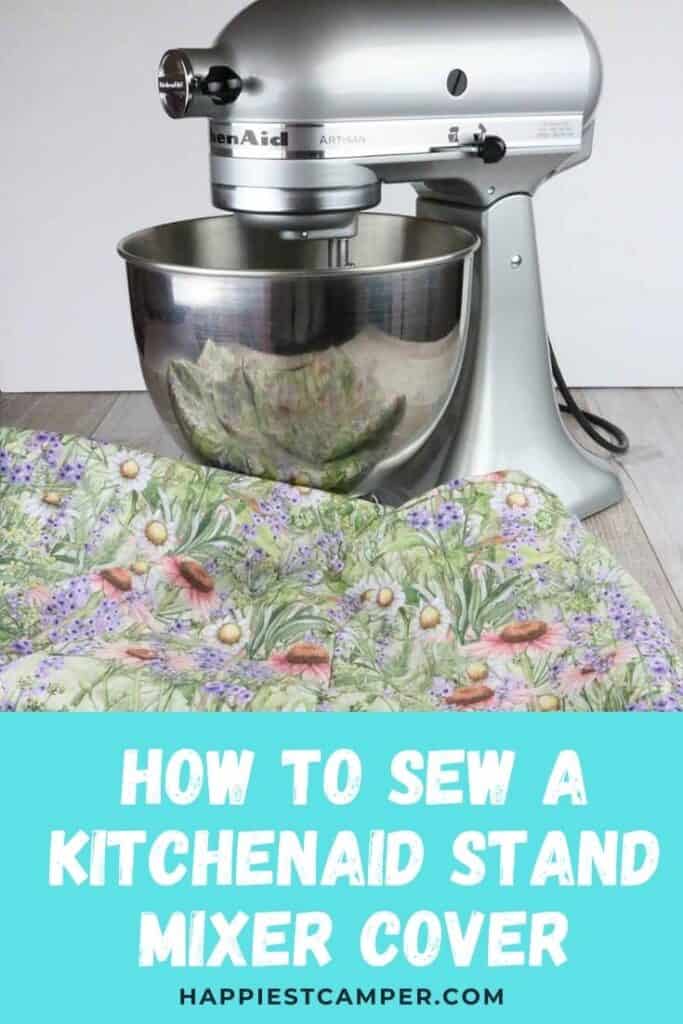
In this tutorial, you’ll learn how to Sew a KitchenAid Stand Mixer Cover with Free Sewing Pattern. This fun sewing pattern is so simple and easy to do and it’s a great way to hide the mixer in your kitchen, without having to move it on and off the counter. Customize it with colors to match your kitchen and help it stand out or blend in it’s your choice. Get the tutorial on how to sew a KitchenAid Stand Mixer Cover below.

While this isn’t a “must” have item for your kitchen, it’s one that will really stand out. Because if you’re anything like me, I can’t stand the look of clutter on a counter. This is why this KitchenAid stand mixer cover really helps things blend in and just look a bit better. Plus, you can make it look really cool and funky as well by changing out the fabrics, too. You can easily alter this to make it look however you want and even have fun making some seasonal covers as well. If you have a Pro mixer then check out our KitchenAid Professional Mixer Cover Pattern. Let’s get started!
Printable PDF Version of how to sew a KitchenAid Stand Mixer Cover - This PDF version has been optimized for printing and you won’t need to access the internet every time you want to make it. If you would like to purchase an ad free printable version of this sewing pattern & tutorial, please visit our Etsy Shop listing for KitchenAid Stand Mixer Cover - PDF Download & you can purchase a PDF downloadable version of this mixer cover pattern & tutorial or you can keep reading for the free version of this tutorial.
Supplies For KitchenAid Stand Mixer Cover

- 1-yard outer fabric
- 1-yard liner fabric
- Matching Thread
- Scissors
- Free Printable Pattern
- Rotary Cutter & Mat
- Clips or Stick Pins
- Sewing Machine
- Glue Stick
- Fabric Marker
How To Sew A KitchenAid Stand Mixer Cover with Free Sewing Pattern

Start by printing and cutting out the included printable mixer pattern. Using glue or tape, attach them together to make one piece. I always wash, dry, and press my fabric beforehand so that it is pre-shrunk. Pressing it just makes it easier to work with when cutting.

Lay the template on the back side of the fabric and trace around it while you hold it in place. You could also pin in place if you wanted. You will need to trace two of these for both the outer fabric and the liner fabric.

Cut out the pieces using scissors or a rotary cutter. Cut another piece of fabric that is 16″ x 35″ from both of the fabrics. This will be for the liner fabric.

Next on this how to sew a KitchenAid stand mixer cover tutorial, take the long 35″ side of the piece of fabric and clip or pin one of the pieces you cut out with the free pattern to it to act as a cutting guide. You want the two right sides to be touching.

Using a 1/4 inch seam allowance, sew the two pieces together using a backstitch at the start and finish. You may have to work the fabric slightly to keep it lined up as you round the turn. Repeat these steps to add the other piece to the other end.

Repeat the last three steps using the other fabric so that you now will have what looks like two separate covers. Trim off any extra fabric from around your stitching to lessen the bulk. You are about halfway through this how to sew a KitchenAid Stand Mixer Cover sewing tutorial!


Insert the liner cover into the top cover so that the right sides are touching. Clip or pin them together around the bottom edge.


Now we can sew them together. Using a 1/2 inch seam allowance, sew the two together, but leave a 3-inch open space in the middle of one side. Be sure to use a backstitch at the start and finish of your stitches for added durability.

Through the opening you left, turn the whole thing right side out. Then tuck the liner inside the outer fabric and make sure everything is flat and smooth. Clip or pin along the edge to keep them together.

Finally, use a 1/4 inch seam allowance along that bottom edge and stitch all the way around ,doing a backstitch at the start and finish. Make sure that opening has the raw edges turned inside as this will close up that opening nice and neat.

That’s it! Now you have a cute and functional cover for your KitchenAid stand mixer! It’s a simple way to add some fun pops of color and pattern to your kitchen without having to make a big commitment on changing anything. It’s also a simple way to keep the dust and grime off your mixer until the next time that you’re ready to use it. Even though it might just be sitting there taking up space, it’s still going to accumulate all the dirt and grime that you don’t want to have to wash off the next time you’re going to use it.
Can you wash this cover in the washing machine?
You can. Just be certain that you have it on a gentle cycle and you should have no issues washing it in the washing machine at all. If you’re worried about drying it, just lay it flat to dry as well. If you find that wrinkles during the process, just iron it once it’s dry as that will get rid of any concerns.

If you liked learning how to make this KitchenAid stand mixer cover, make sure to pin it to your favorite Pinterest board or share it with friends on social media. If you decide to make this simple project on your own, make certain that you take a picture afterward and tag us on social media as we love seeing the fabrics and color choices that people use!
How to Sew a KitchenAid Stand Mixer Cover with Free Sewing Pattern

This stand mixer cover is so simple and easy to make. It is reversible so you can change up your look to match your kitchen decor. This easy sewing project is the perfect accessory for your stand mixer!
Instructions
- Start by cutting out the template pieces. Then using the glue or tape, attach them together to make one piece.
- Iron the fabric so that it lays flat.
- Lay the template on the back side of the fabric and trace around it while you hold it in place.
- Cut out the pieces using scissors or a rotary cutter.
- Cut another piece of fabric that is 16" x 35" from both of the fabrics.
- On the long 35" side of the piece of fabric, clip/pin one of the templet cut pieces to it. You want the two right sides to be touching.
- Using a 1/4 inch seam allowance, sew the two pieces together using a backstitch at the start and finish. You may have to work the fabric slightly to keep it lined up as you round the turn.
- Repeat steps 6 & 7 to add the other piece to the other end.
- Repeat steps 6 - 8 using the other fabric so that you now will have what looks like two separate covers.
- Trim off any extra fabric from around your stitching to lessen the bulk.
- Insert the liner cover into the top cover so that the right sides are touching.
- Clip/pin them together around the bottom edge.
- Using a 1/2 inch seam allowance, sew the two together but leave a 3-inch open space in the middle of one side. Be sure to use a backstitch at the start and finish.
- Through the opening you left, turn the whole thing right side out.
- Then tuck the liner inside the outer fabric and make sure everything is flat and smooth.
- Clip/pin along the edge to keep them together.
- Use a 1/4 inch seam allowance and stitch all the way around doing a backstitch at the start and finish.
- Enjoy your new mixer cover!
Recommended Products
As an Amazon Associate and member of other affiliate programs, I earn from qualifying purchases.
-
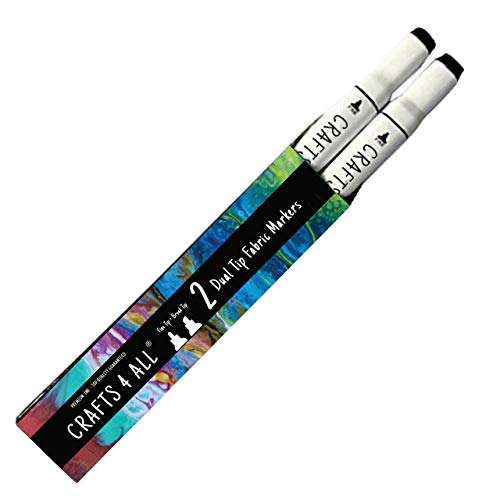
 Crafts 4 ALL Permanent Fabric Marker Laundry Marker
 -
 Clover 3183 50-Piece Wonder Clips, Assorted Colors
 -
 4-Pack Turquoise All Purpose Sewing Thread
 -
 Fiskars Crafts 95237097J Rotary Sewing Cutting Set (3 Piece), Grey
 -
 Best Beginner Sewing Machines
 -
 LIVINGO Premium Tailor Scissors Heavy Duty Multi-Purpose Titanium Coating Forged Stainless Steel Sewing Fabric Leather Dressmaking Softgrip Shears Professional Crafting (9.5 INCH)
