RV window coverings are ugly. New or old, they are all ugly. No matter the make, model or year, I have never seen an RV that I would be happy living in untouched. The wallpaper and curtains are the biggest culprits and, fortunately, easy to change.

If you don’t want to make your own RV window coverings then check out all these options on premade ones.
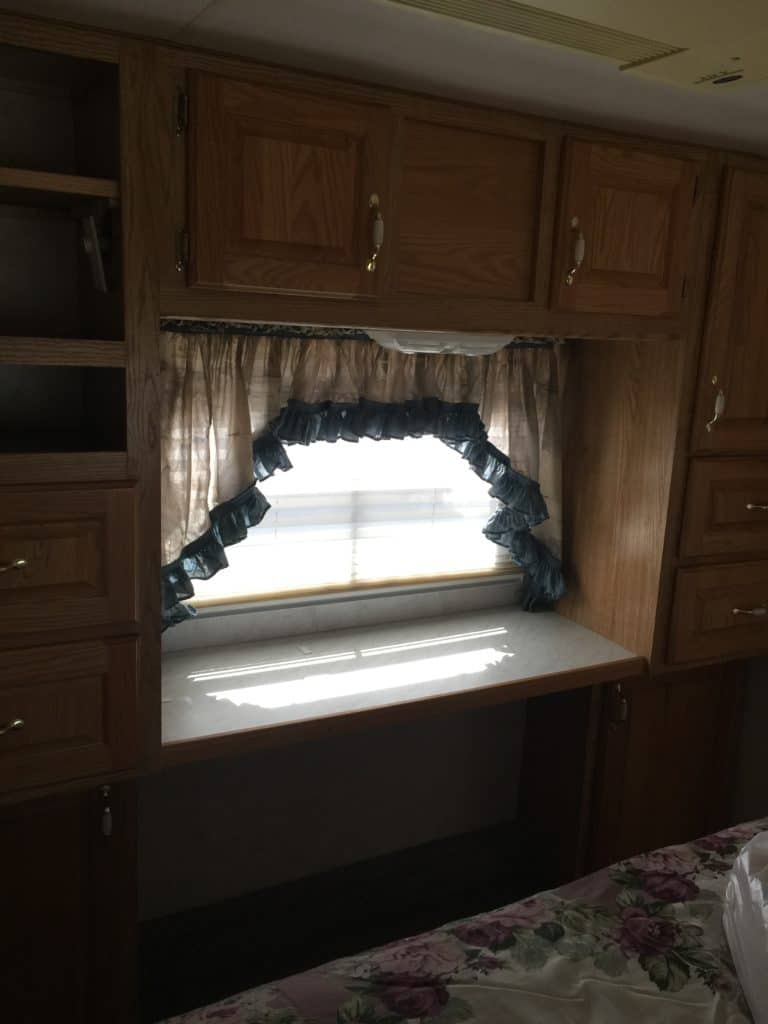
My husband bought our current home on wheels while I was suffering with horrible morning sickness. We knew we needed a larger rig to accommodate a baby, but I couldn’t stand traveling to shop for one. I looked at campers on Craigslist, and he went to evaluate their structure and working order in person. Then one day he came back with a 2003 Mirage by Thor 5th wheel. When I stepped inside for the first time, I immediately ripped down all the curtains. They were THAT ugly, so this is the only ‘before’ picture I have that shows a curtain. The good news is that the windows didn’t have cornice boxes. Those are a huge pain to recover! These RV window coverings were simply hung with Velcro, something I was familiar with from our first camper.
If your in a pinch and you have standard RV windows you can order these RV window coverings. They are more for function than pretty, but they do the job of helping to block out the sun and provide some insulation. Now lets move onto making your own window coverings.
How to Make Insulated RV Window Coverings
In our previous RV, there was very little real estate for curtains or a means to hang them. My solution was to hem a rectangle and staple Velcro directly to the walls. I’m sure there is a classier way, but I was running out of patience and budget. Fabric can be expensive, and campers have more windows that you think. The fabric I chose was upholstery grade with a felt back which made it awesome for maintaining the temperature inside. It was a bit plain, so I added a lighter weight patterned fabric across the top.

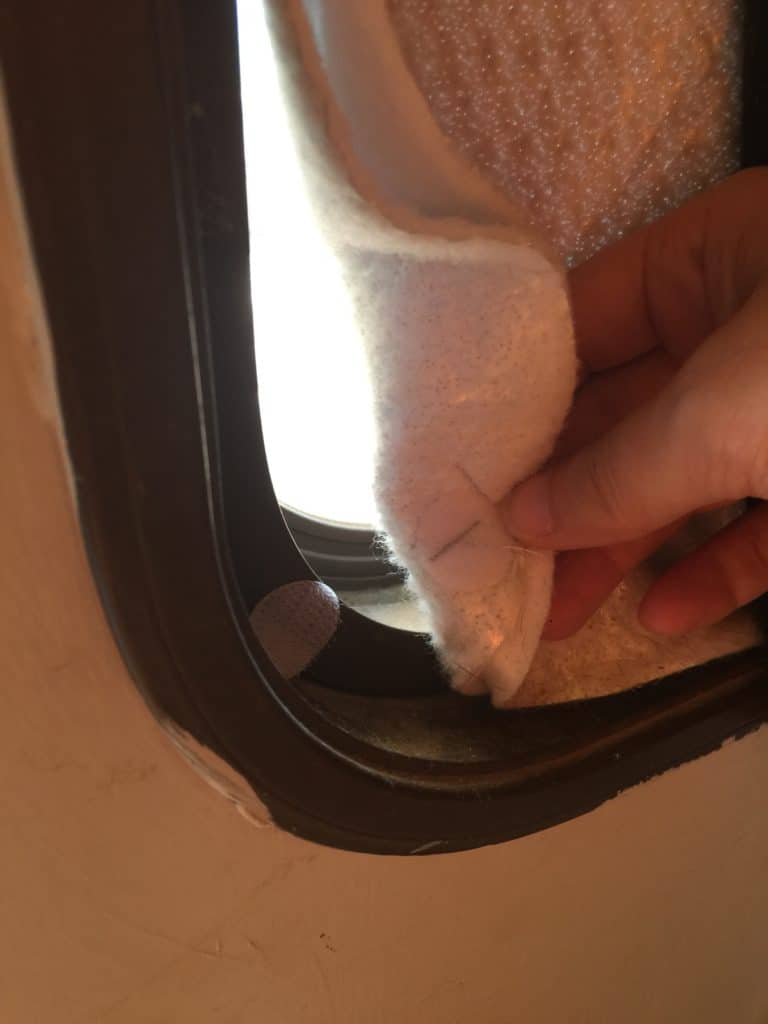
When we decided to stay in Phoenix, AZ for a summer, I upgraded the window treatments again by adding a layer of Insul-Bright directly to the windows. Insul-Bright is a polyester fabric woven with mylar that reflects heat back where it came from. I simply cut the material to fit each window and adhered them with self-adhesive Velcro dots so that they can easily be removed when parked in nicer weather. A staple held the dots on the fabric. Don’t try to sew them because the glue on the dots will gum up the needle and jam your machine. I may or may not have learned that through experience.
When we decided to add an air conditioning window unit to that camper, I came up with a RV window covering solution – cut a hole in it! It turned out to be one of my favorite projects. When you have to have an eyesore, put pretty things around it, right?

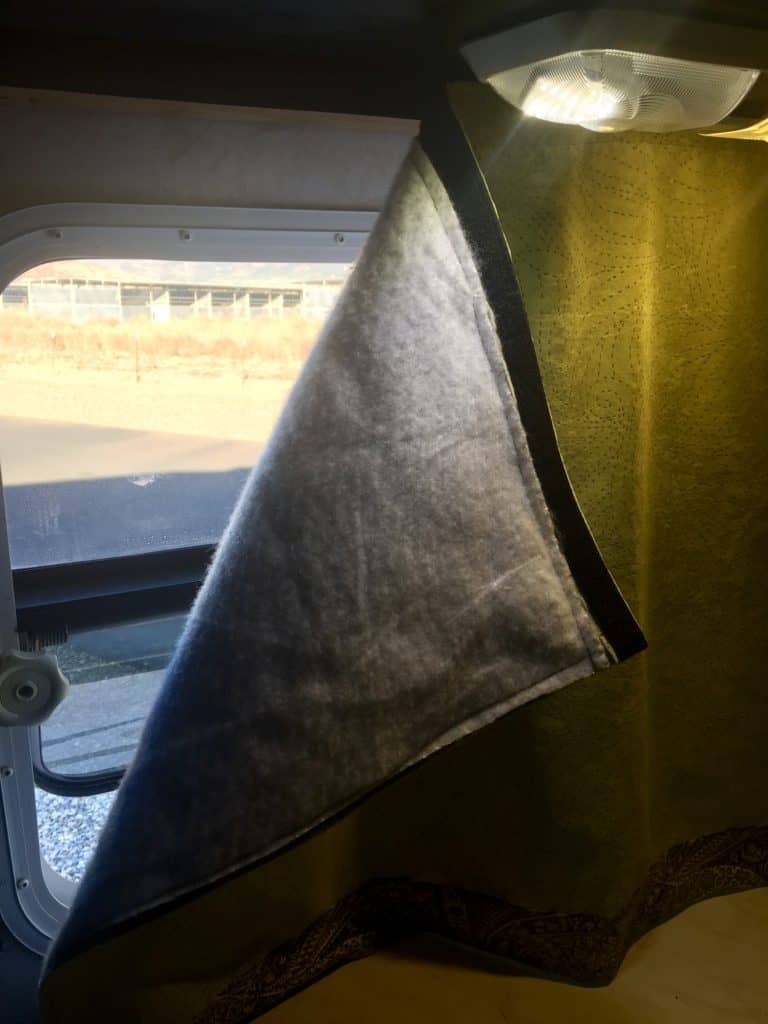
Our current RV came with semi-circle wood pieces fixed above each window with Velcro on the front edge. All I needed to do was make curtains with the coordinating Velcro piece sewn across the top. Apparently I like green because I chose that color fabric again. While upholstery weight, this fabric is not backed with felt. To beef up the insulation, I sewed Insul-Bright directly to the curtains this time. I prefer this method because it is easier to open and close the curtains for day and night, but applying Insul-Bright directly to the windows was more effective at managing the temperature inside.
Tip: Do NOT use your good fabric scissors to cut Insul-Bright. It will ruin them. Again, I may or may not know this from experience.
If you don’t want to make your own RV window coverings then check out all these options on premade ones.
You’ll see more of the RV window curtains as I keep working through our RV tour. There are 13 windows to cover in this camper! Four of them can be seen in the nursery alone. Let me know if you have any questions in the comment section below. I’m always happy to answer them!


If you like this, you’ll love my post on Quilting in a RV and How to Replace the Faucet in a RV.
