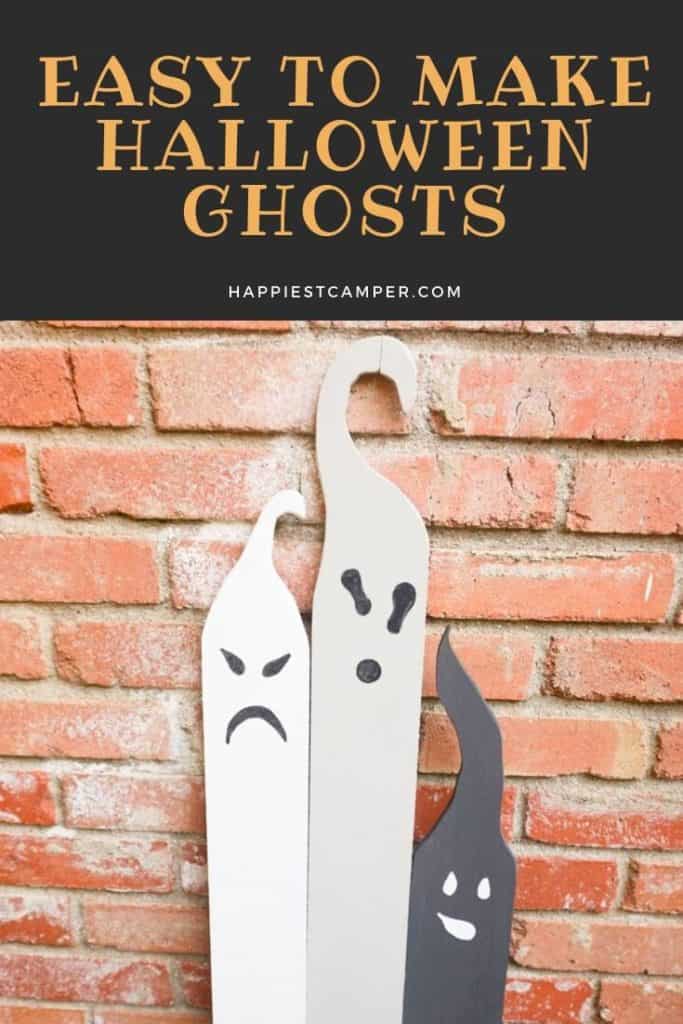
With my kids ranging from tween to toddler, I like to keep my Halloween decor more family-friendly than spooky scary. So I decided to figure out how to make Halloween ghosts for outdoors with the kids this weekend, I didn’t realize what an easy Halloween craft this would end-up being. Simple, straightforward and fast, this is a really cool porch or yard decoration that the kids are really excited to help put out–and they can be proud of.
Not only that but, because it’s not super spooky or time-consuming, if the kids wanted to, we could make these as gifts for family or friends to decorate their porch. And, because they are so simple, there’s not much to wear out or break, so they’ll last forever. Sure beats spending $20 for a goofy-looking scarecrow at the hardware store that won’t last the whole season.
Let’s get started making this easy outdoor ghosts.
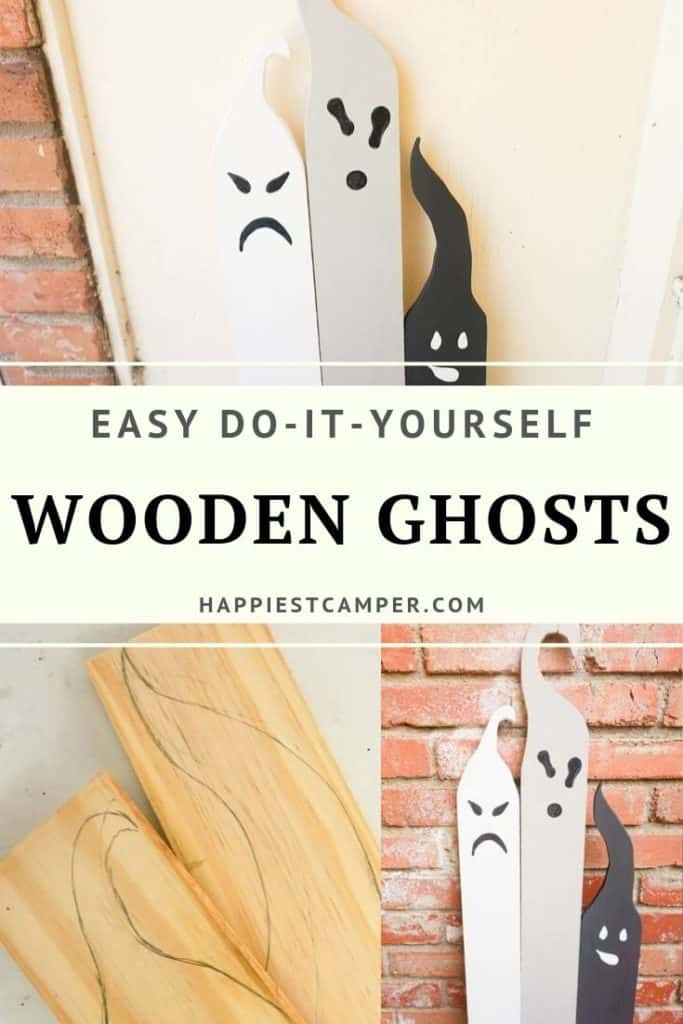
How to Make Halloween Ghosts for Outdoors
Supplies
- 3 Fence Panels
- Black Chalkboard Paint
- White Chalkboard Paint
- Grey Wood Stain
- Black Craft Paint
- White Craft Paint
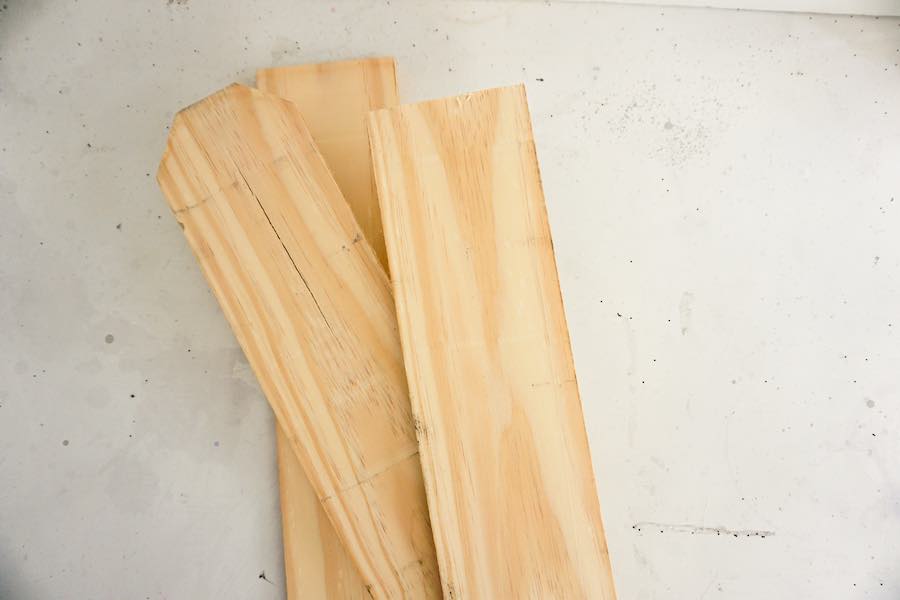
Luckily for this Halloween craft, you may have lots of the supplies on hand or lying around. Three fence planks, not the fancy wide ones or anything. Just the cheapest ones they have at your local hardware store. They’re 3 ½-inches wide and very thin, although, sometimes they’re rough-cut. If they’re rough, you’ll want to start by planing them down or sanding their length, because the rough-cut does not finish well.
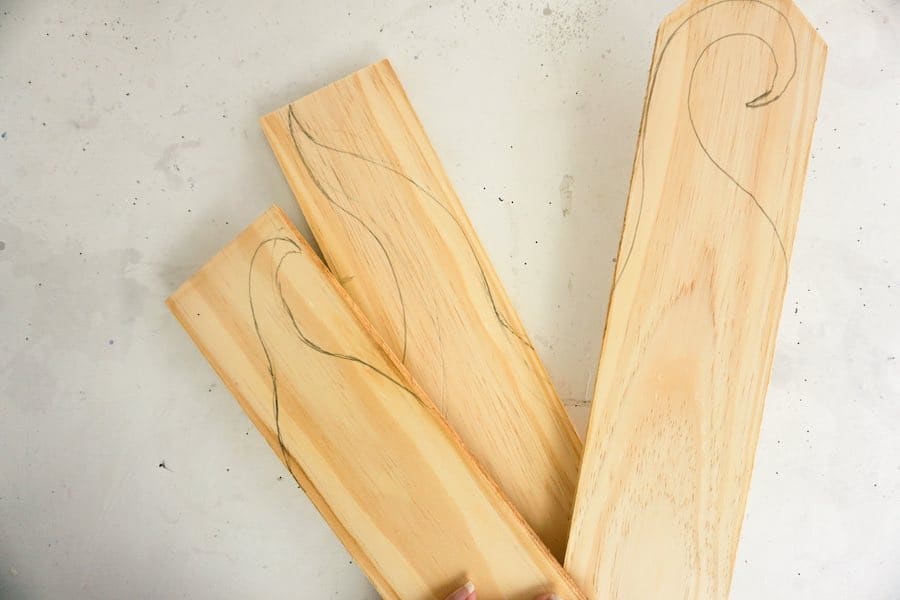
To make the ghost unique you can free-hand the ghost heads based on your own ideas. Just be careful about how narrow and pointy you make them because they can (and will) break off.
And then you’ll need some paints. I used black and white chalkboard paint as well as a grey stain I had on hand but you can paint the ghosts any color you want them. Then, I painted the faces with black and white craft paint I found.
Tools

A scroll saw or jigsaw, sandpaper, hot glue and glue gun, paintbrushes and a pencil. Basically everything you have in a typical workshop, so nothing fancy.
Now, you don’t have to use a scroll saw or jigsaw, you can certainly use a hand saw, but it’s going to take quite a bit longer, so just be aware.
Regardless of which saw you use, you’re going to want to be super careful of the tips of your ghosts. When you’re using softer wood like pine and you’re using the worst of the worst (fence planks are not meant to be fine art pieces), it weakens the wood when you make the cuts narrow.
So, be gentle when you’re cutting those narrow bits AND when you’re sanding them. But, if you break one-off, don’t panic. You can just hot glue it back in place.

Now, onto the actual Halloween Ghosts.
Making the Halloween Ghosts for Outdoors
You’ll want to start by cutting off 6-8-inches from one end of each fence panel–be sure to leave one fence panel long, one short and one somewhere between. Save the cutoff pieces, we will need them later.
Then, draw the Halloween ghost shapes on one end of each of the fence panels. They don’t have to be exact. Just get the concept down and then cut out each ghost shape.
Now, for anyone who’s ever used a scroll saw, you’ll know it’s not as easy as it looks. For me, the trick is moving slow, feeling free to move the wood, and not pushing too much because that makes the blade bow and not go where I want it to.

But, even if you make a few mistakes with the saw, I have good news! You can fix it in the next step by just sanding each ghost on the Halloween ghosts sign for outdoors. I invited the kids to help me with this step, but they were not interested.
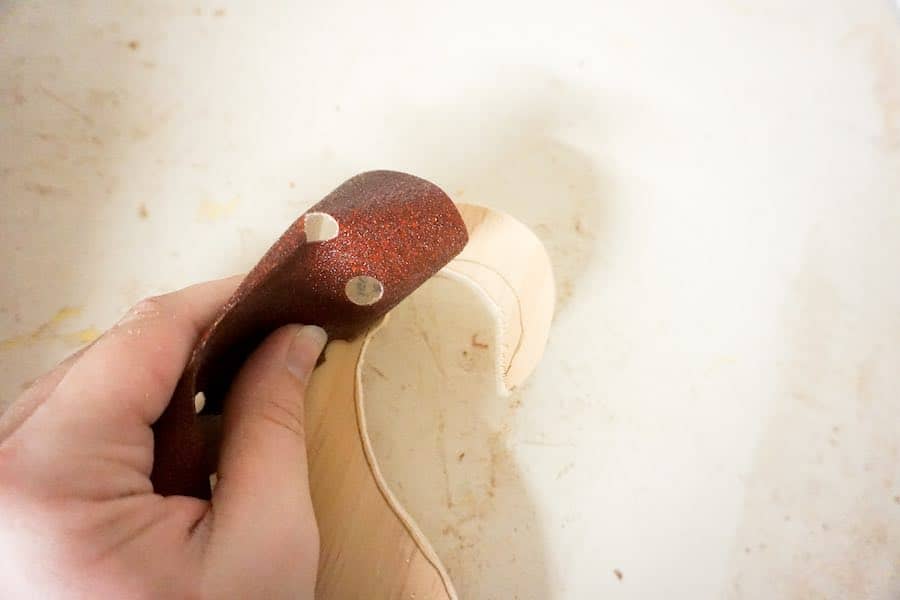
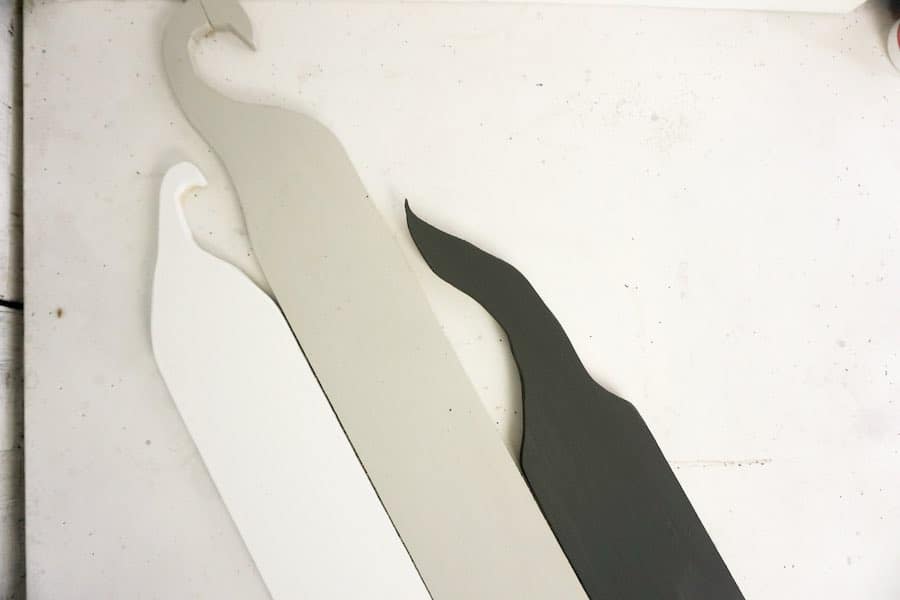
Once everything is as smooth as you can stand it, paint the tallest ghost with the grey stain, the shortest with the black and tallest with the white.

Be sure to paint the sides because you’ll see that, but I did not feel the need to paint the back if you plan to have the back showing, be sure to paint that. Now, when I invited the kids to help me with this step, they were all in. So much so that we all had to have a shower afterward to scrub off the extra paint. Fun times.
Make sure the paint dries all the way before moving on.
Turn the fence panels painted-side-down then line them up how you want them to stand on your porch. Meaning, line up the bottoms and line up the sides.
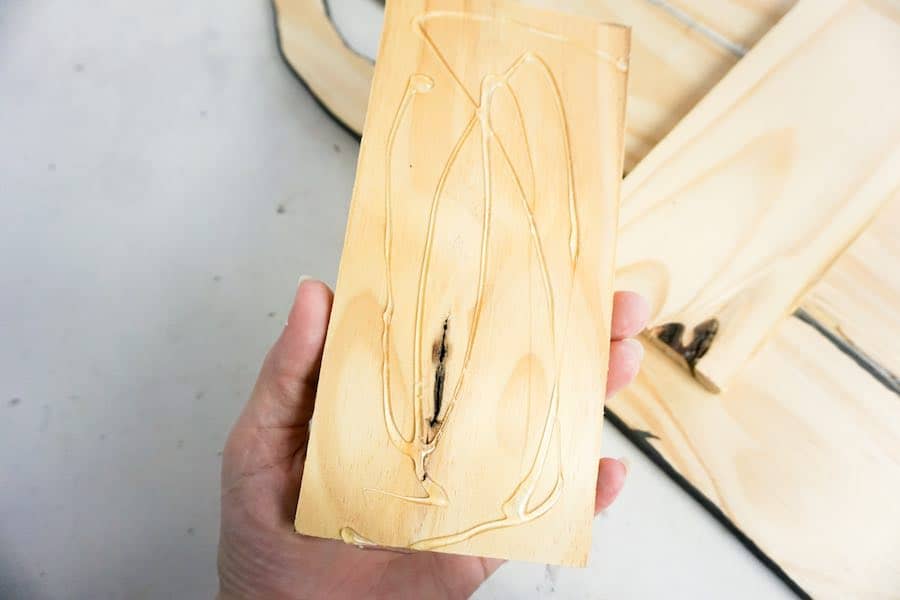
Hot glue the cutoff pieces from step 1 onto the back of the fence panels in 3 different places. This will hold the ghosts together. Be sure to get hot glue across the entire width of your cutoffs and each of the fence planks, that way you don’t get any shifting later.
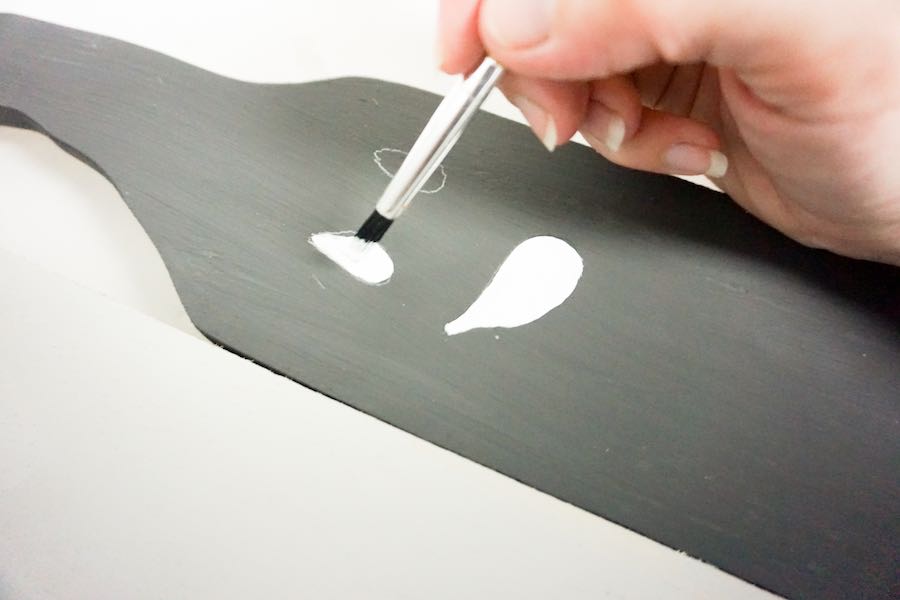
Now it’s time to turn the ghosts paint-side-up. Using a pencil, some draw faces for the ghosts however you’d like. I went with a grumpy ghost, weird squiggly and sort of puzzled ghost. But there’s no art to this, just make a mouth and eyes.

On the white ghost, use the black craft paint to fill in the eyes and mouth of that ghost. On the grey ghost, use the black craft paint for the eyes and mouth. And for the black ghost, use the white craft paint for the eyes and mouth.
Make sure to allow the paint to dry completely, then place it on your porch.

One of the things I like best about this project is the fact that the kids can get involved. Yeah, sure the paint is messy with little kids, but how else are they going to learn how to paint? And although they might not be strong enough to work the trigger on the hot glue gun–and I certainly don’t want them getting burned, they can tell me where to place the braces on the back. Have fun with it, customize it how your family desires and enjoy your homemade outdoor decor for Halloween.
This is a great Halloween craft project that the kids will definitely be proud to put on the porch every year. Make sure to share with your friends on how to make Halloween ghosts for outdoors. If you made it leave a comment below or hit us up on social media with a picture of how your Halloween ghosts turned out.
Looking for More Fun Projects or Crafts:
