If you’re a beginning sewist or you’ve been sewing for years, you may have noticed that using a sewing pattern can be a challenge. That’s why we are going to show you How To Use A Sewing Pattern! Learning how to use a sewing pattern doesn’t have to be as difficult as it might seem. And, by setting yourself up at the start with your pattern, you’ll be a lot less stressed when it comes to putting your actual project together.
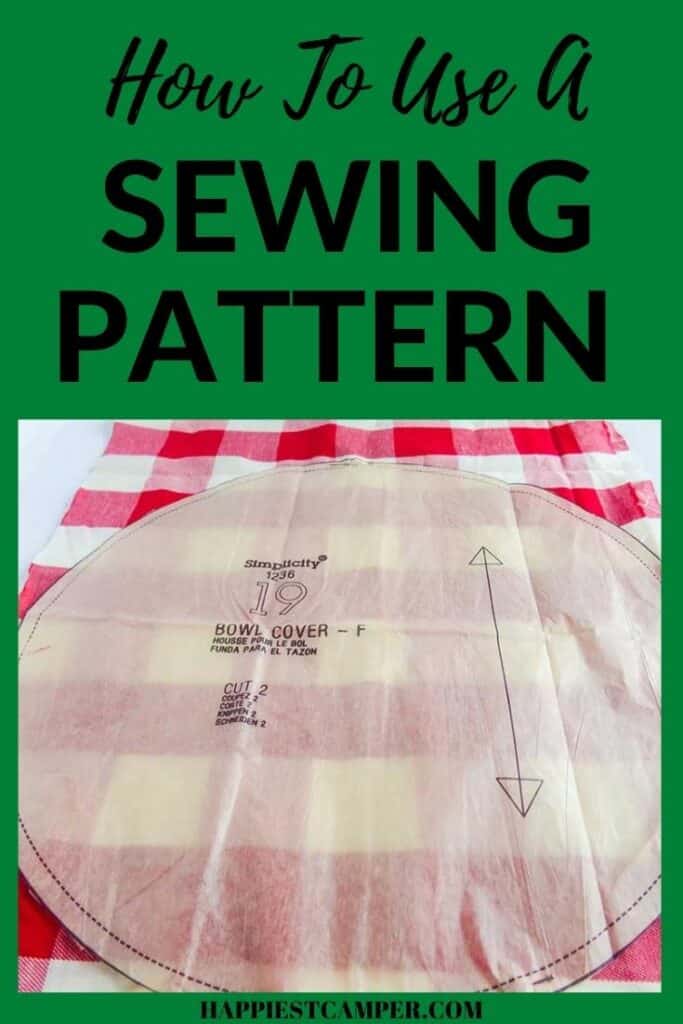
Once you learn how to use a sewing pattern, you’ll be able to take advantage of several sewing projects on our site that include free patterns. Be sure to check out some of our other fun sewing hacks and easy beginner sewing projects to test out your new skills.
How To Use A Sewing Pattern

Cutting out the sewing pattern is usually the first step anyone takes. But I’ll be honest, I’m not a big fan of just starting off by cutting. You can’t take it back once cuts are made. So, rather than cutting the pattern, start by reading through everything, including the instructions on the package, the instructions on the pattern pieces and even examining the sketches or photos on the package. Some terms you will want to be familiar with are:
- Seam – A line along which two pieces of fabric are sewn together in a garment or other article.
- Raw edge – The raw edge is the unfinished, cut edge of the fabric.
- Seam allowance – The seam allowance is the distance between the stitching line and the raw edge of a piece of fabric.
- Hemline – the level of the lower edge of a garment such as a skirt, dress, or coat. Expressed in inches from the floor.
- Pattern grading – Making a pattern larger or smaller depending on what you need.
At some point, you will need to grade or scale a sewing pattern. A good rule of thumb for pattern grading is that in order for the pattern to scale correctly, you need to start by cutting the pattern perfectly. Then you can decide to use the cut and spread method or the pattern shifting method. I prefer the cut and spread method but you may prefer shifting.
- Cut and Spread Method: You will then cut your pattern vertically and horizontally in sections as needed, depending on the size of the pattern. Then once you have done that, you can add space needed to scale like an inch in between the cut pattern to scale up or overlap the pieces by an inch to scale down. Length won’t really be a factor with sizing adults and when sizing children you should be measuring their length in the beginning anyway.
- Pattern Shifting Method: Pattern shifting is the process of shifting the dimensions of a pattern as needed up or down. Usually, this is used to increase the size of the pattern but can be used to reduce it as well. You increase it by moving it a measured distance say a 1/2 inch up and down and left and right, using a ruler, and redrawing the outline of the pattern. This pattern grading method produces similar results as the cut-and-spread method.
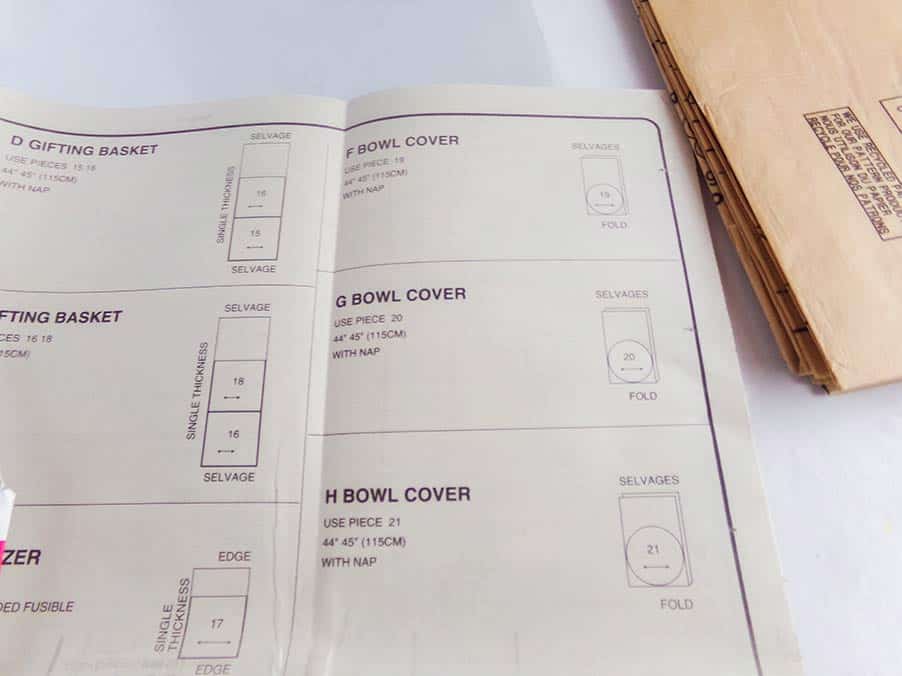
It will be much easier to troubleshoot as you go, if you give yourself a chance to process questions before you ever pick up the scissors. Speaking of scissors, don’t use those dull scissors from the kitchen that the kids use on their crafts. Seriously, you need a pair of scissors like these that are sharp and will leave a clean, crisp cutline. The last thing you need is a shredded edge of your pattern to frustrate you from the start.
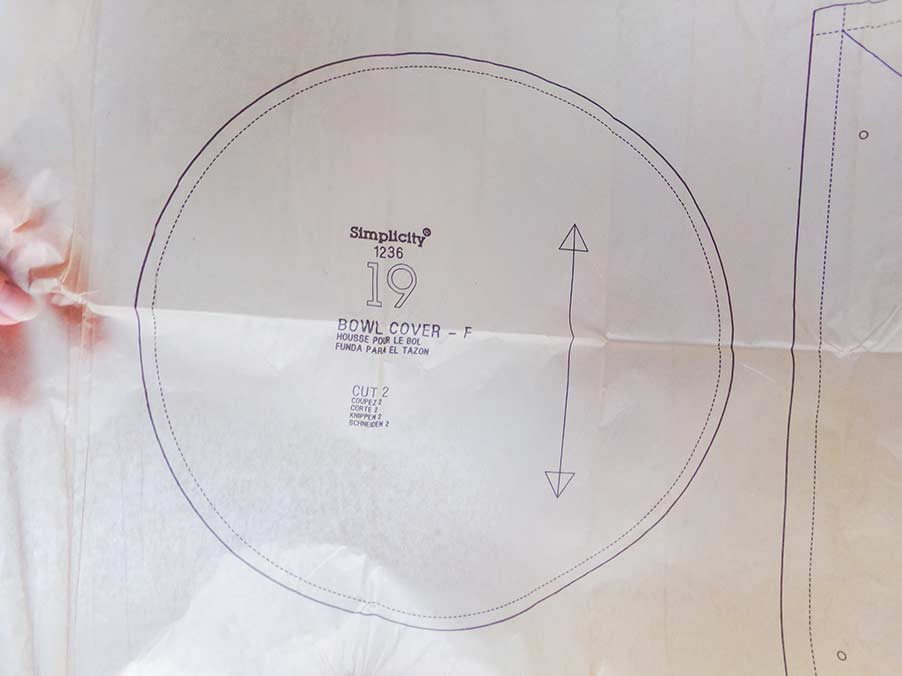
Most sewing patterns are printed on flimsy, floppy paper, arguably the worst tissue paper stuff in existence. While this is nice for the purposes of cutting, it can make the pattern fragile. So, if you plan to use your sewing pattern very frequently or don’t feel like you can keep from tearing it up, you can trace your paper pattern onto cardboard or craft foam. An additional benefit to doing this is it will keep your pattern from flopping around when you’re trying to trace it onto your fabric.
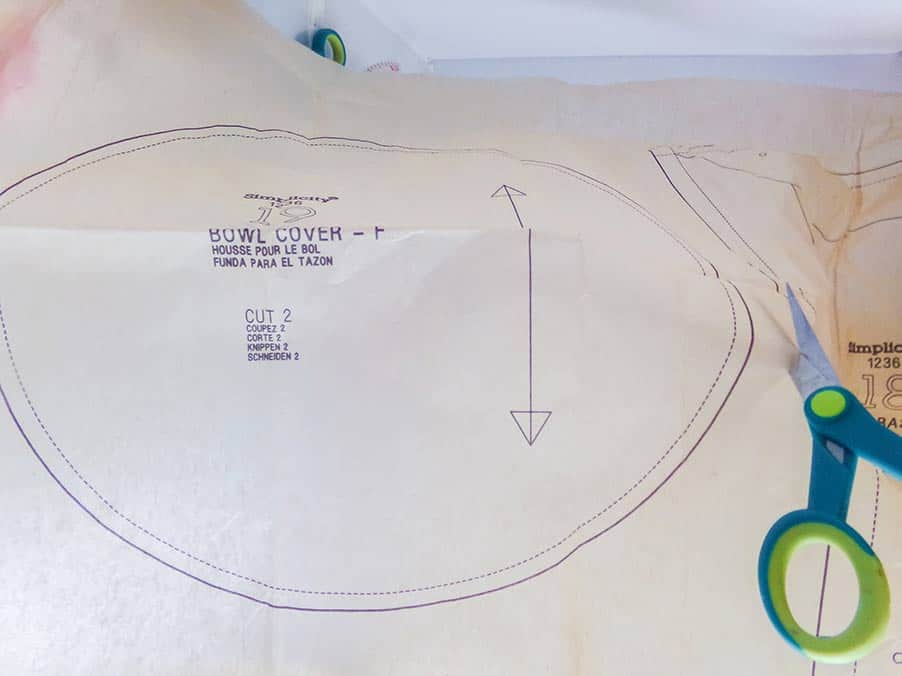
Once you have your pattern read, cut out and ready to actually use, you have a couple of options. If your pattern includes hemlines, I recommend using the following procedure to use your sewing pattern most efficiently.
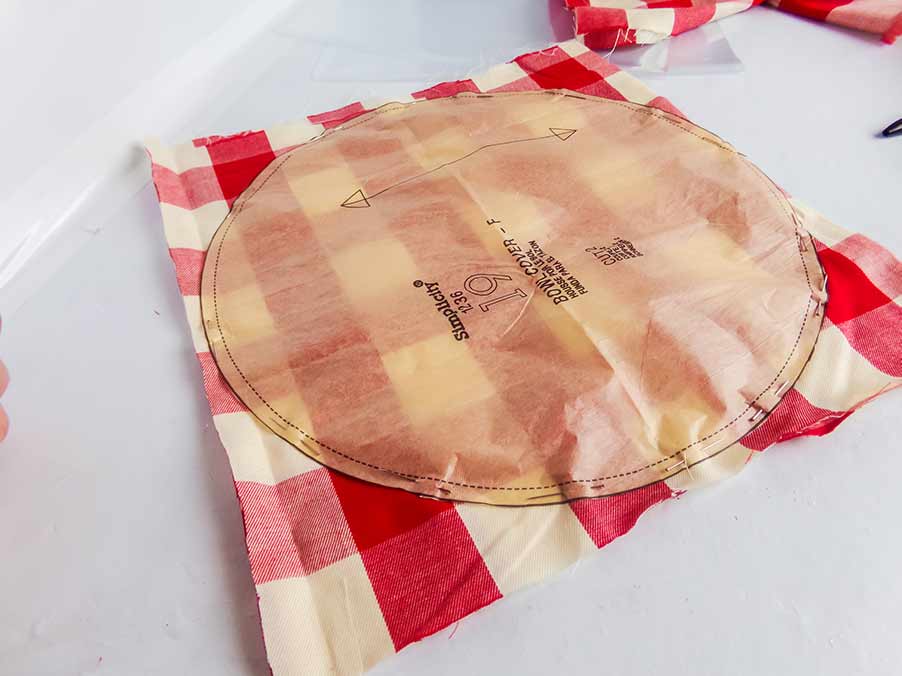
Once you have cut out your pattern, simply pin the pattern to the fabric. As much as you would when pinning pieces of your cutout fabric together, pin your pattern to the fabric to hold it in place while you are tracing it onto the fabric. The last thing you want to have happen is the pattern to shift and you don’t notice, then you have to trace it again or you don’t notice and your project gets sewn wrong. So, pin the pattern down.
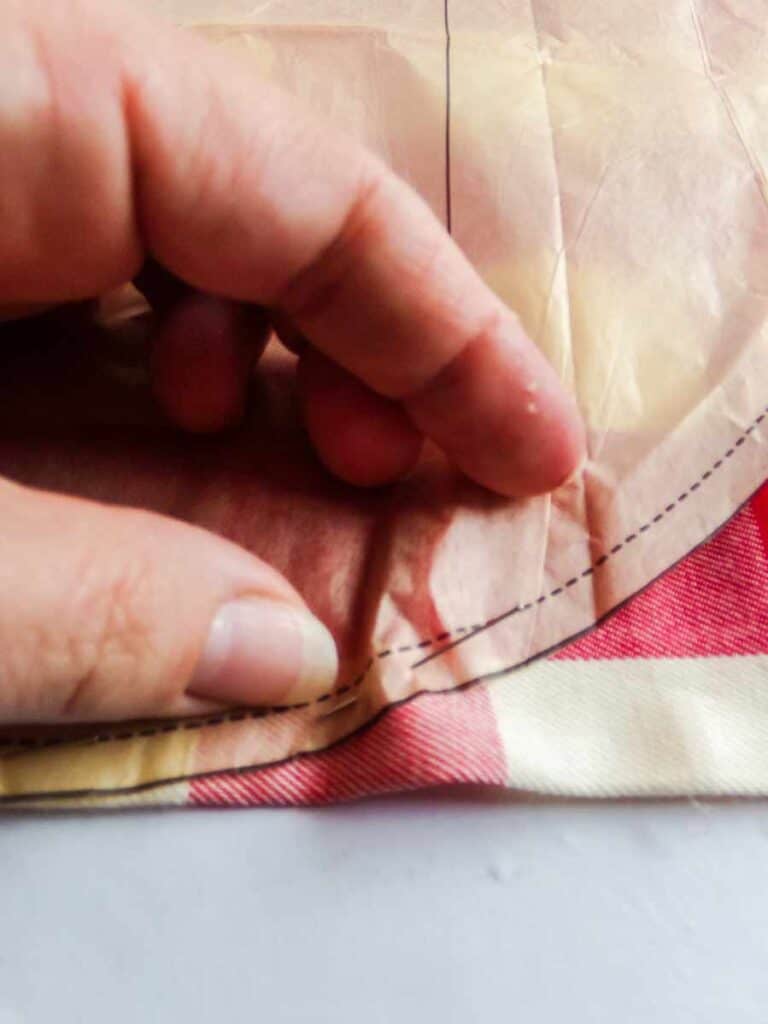
Next on this how to use a sewing pattern tutorial, we need to mark the fabric around the. Trace the outer edge of the pattern onto the fabric. I recommend using a washable fabric marker or “disappearing ink” sewing marker. But you can also use colored pencils (washable, of course) that are a similar color as the fabric so that if some residue is left, it will blend into the pattern.
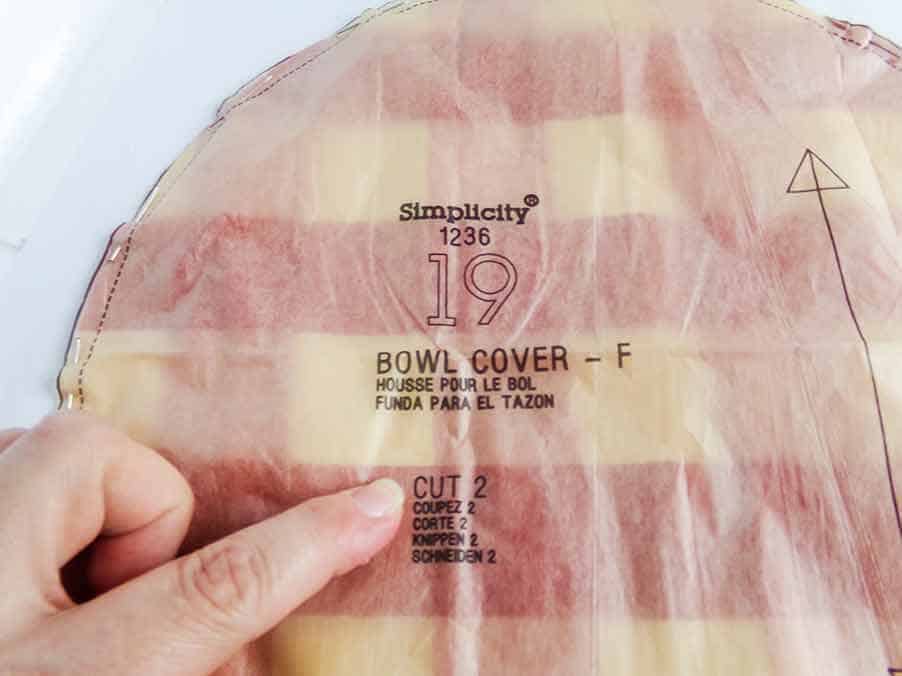
If you have a serrated tracing wheel (little serrated silver wheel with a handle), you can use this to trace your hemlines through the tissue paper type patterns. Press down, perforating the pattern and the fabric. You can then follow this perforated line to sew your hem. If you’re not comfortable with pressing hard, you can alternatively use charcoal paper to transfer the hem line. In the event that your pattern doesn’t come with hemlines, you can rubber band two colored pencils together and draw your hemline.
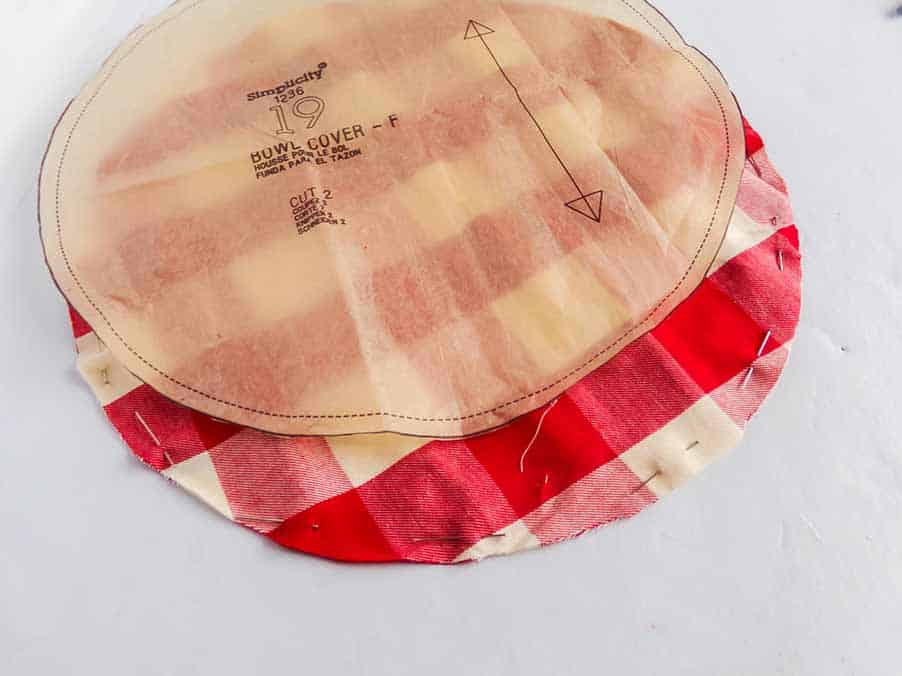
When you have the pattern completely traced, carefully remove the pins and pull the pattern away gently. Remember, you just perforated the paper and it’s a little more fragile than it was a few minutes ago. You don’t want to damage your pattern after only using it a few times!

Refold the sewing pattern. Use the same fold lines to refold your pattern. Folds weaken the paper and using the same fold lines will keep you from wearing more spots in the pattern over time. You want to keep your sewing patterns for as long as you can!
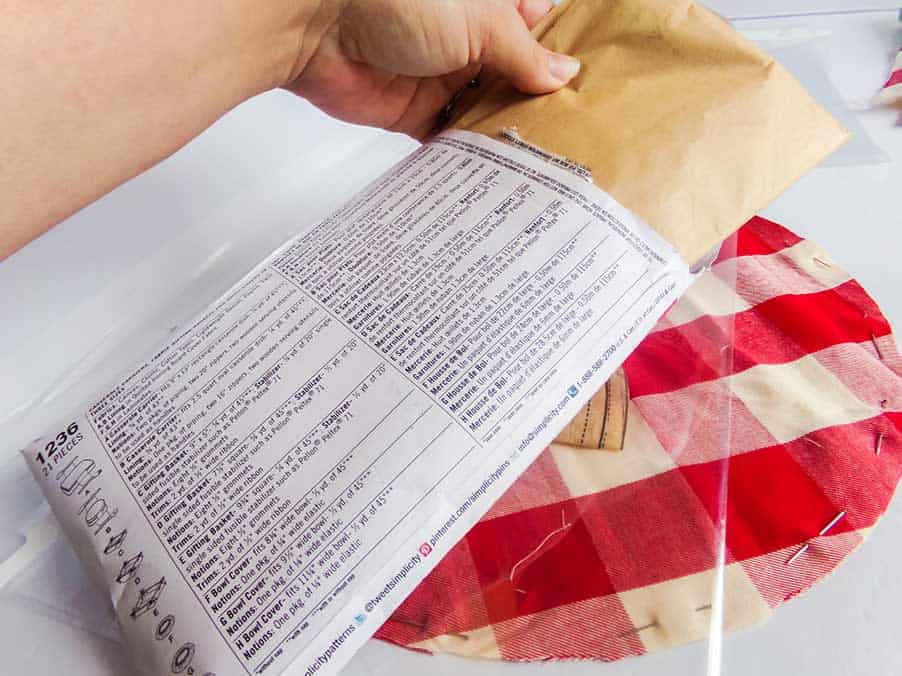
Keep the sewing pattern safe. First, keep the paper envelope the pattern came in, if you can. Not only does it have important information on it and sketches or photos of the end product, but the envelope paper is usually quite a lot thicker than the pattern itself and will reduce the potential for the pattern to be torn up.
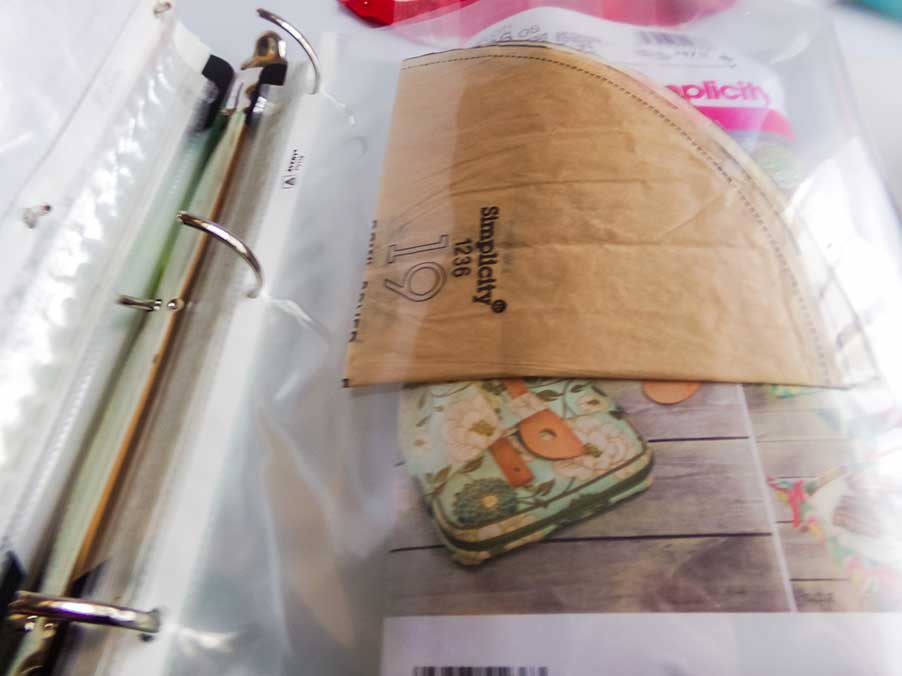
Store the pattern. You might be tempted to just put your sewing patterns in your sewing box and dig through them, to save time. But the honest truth is, you’ll be sorry if you do. Despite protecting the tissue paper patterns, the envelopes are not impenetrable. The top opens and the patterns slide out. Plus, keeping those patterns organized is going to help you out if you want to find them again. So, I recommend keeping your patterns, in their envelopes, inside laminated binder folders in a 3-ring binder. Alternatively, you can keep your patterns in a card box or a filing cabinet. Then the sewing patterns will be in perfect shape when you’re ready to use them!
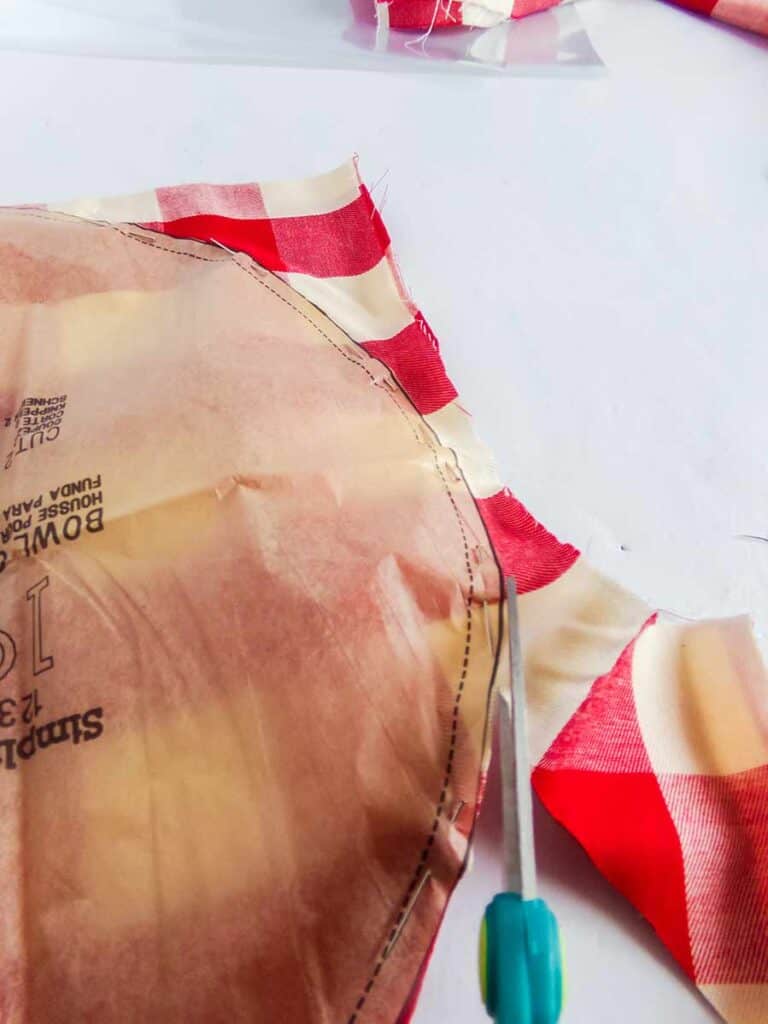
See? Now that you know how to use a sewing pattern, it doesn’t seem so daunting, right?! Just a simple activity you can tackle in no time.
If you love this quick and easy tutorial for how to use a sewing pattern, be sure to pin it to your favorite easy DIY ideas board on Pinterest so you can find it again later when you’re ready to sew!
