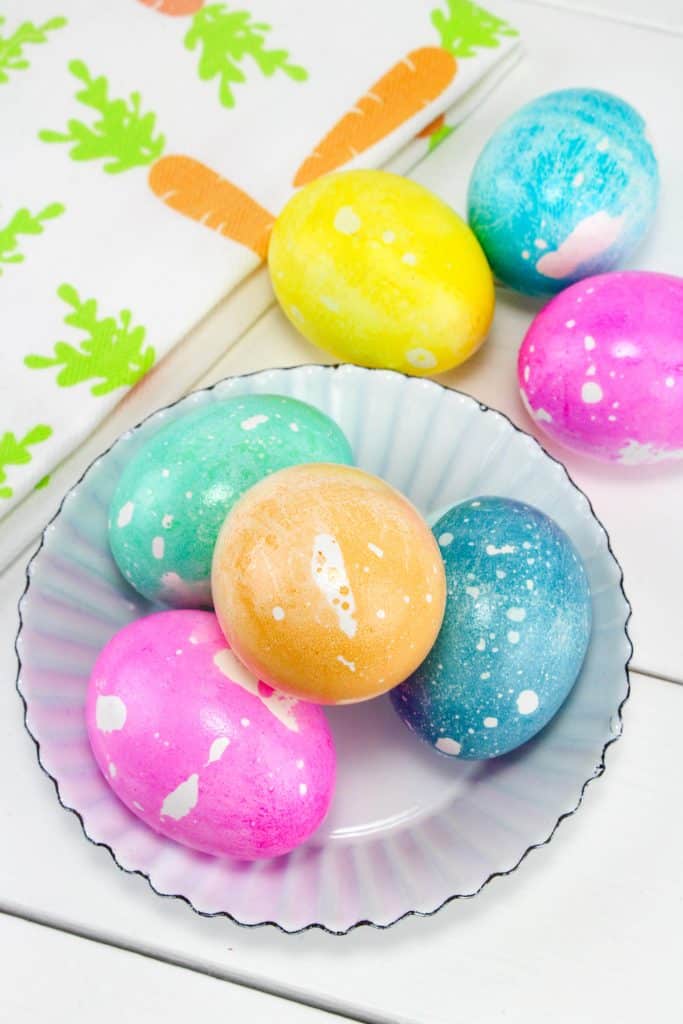
Hippity hop, Easter’s on its way! Dyed eggs are a staple for every Easter dinner (and lunch the following week). Kids love to make them, and adults love the eat them! These bright, speckled eggs are made with items you probably already have in your pantry. There is no need to buy a disposable kit from the store with unknown chemicals and ingredients to make oil and water dyed Easter eggs.
Since we raise chickens, we have a steady supply of eggs to dye. Different chicken breeds produce eggs in a variety of colors. Did you know the color of a chicken’s ears determines the color eggs they lay? Some blue and green eggs naturally look like they have already been dyed. For this project, plain white eggs (from a White Leghorn, for example) are best to make the colors pop.
Thinking about adding chickens to your backyard? Start with this post: Backyard Chickens – Everything You Need to Know.
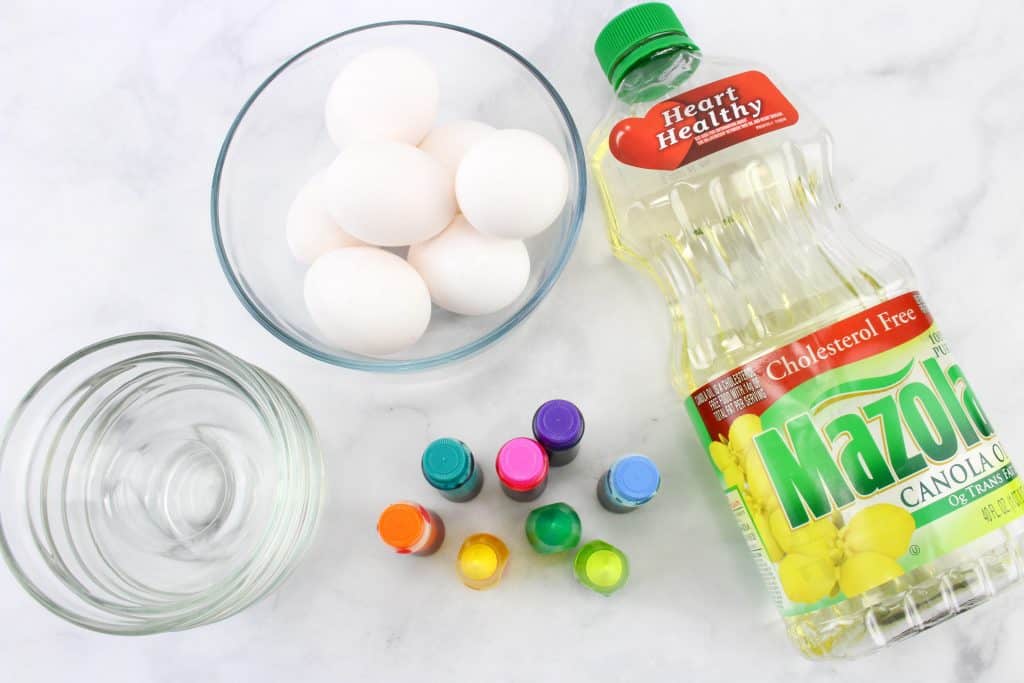
Supplies for Oil and Water Dyed Easter Eggs
- Hard Boiled Eggs
- Oil – Vegetable, Canola, or Olive will work
- Food Coloring in Assorted Colors
You will also need several small bowls or cups for as many colors as you would like to make. These work great and clean up well. Keep in mind that you can mix primary colors to make secondary colors too (Red + Blue = Purple, etc.).
How to Make Oil and Water Dyed Easter Eggs
Place about 1/3 cup of water in each bowl. Depending on the size of your bowls or cups, you’ll want enough water to cover about 2/3 of an egg.
Add 6-8 drops of food coloring to each bowl and stir.
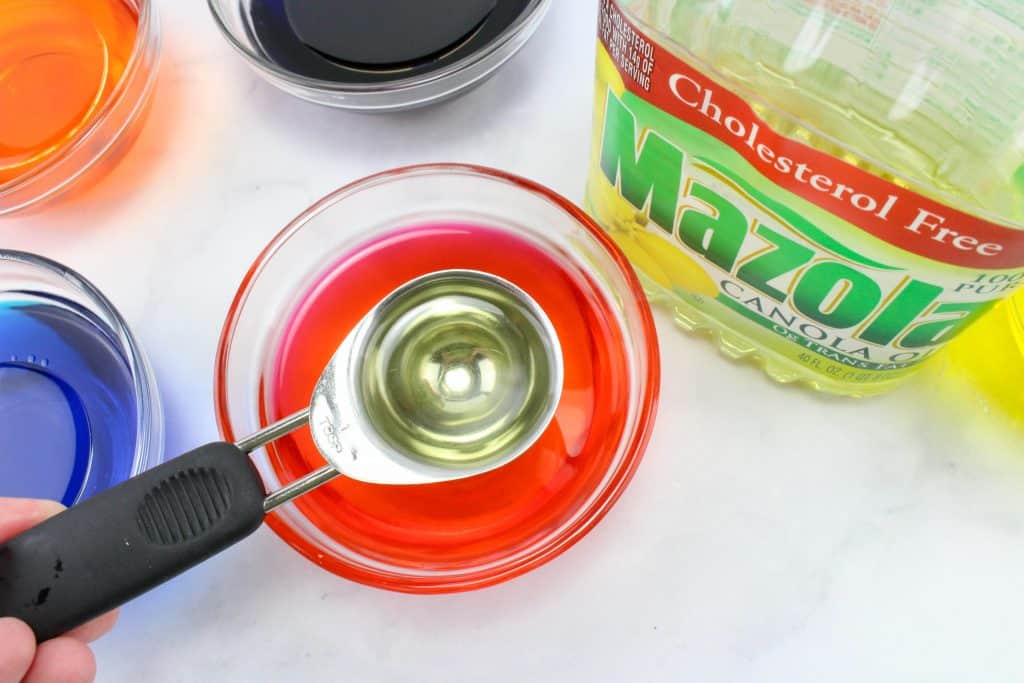
Add one tablespoon of your oil of choice to each bowl. Stir.
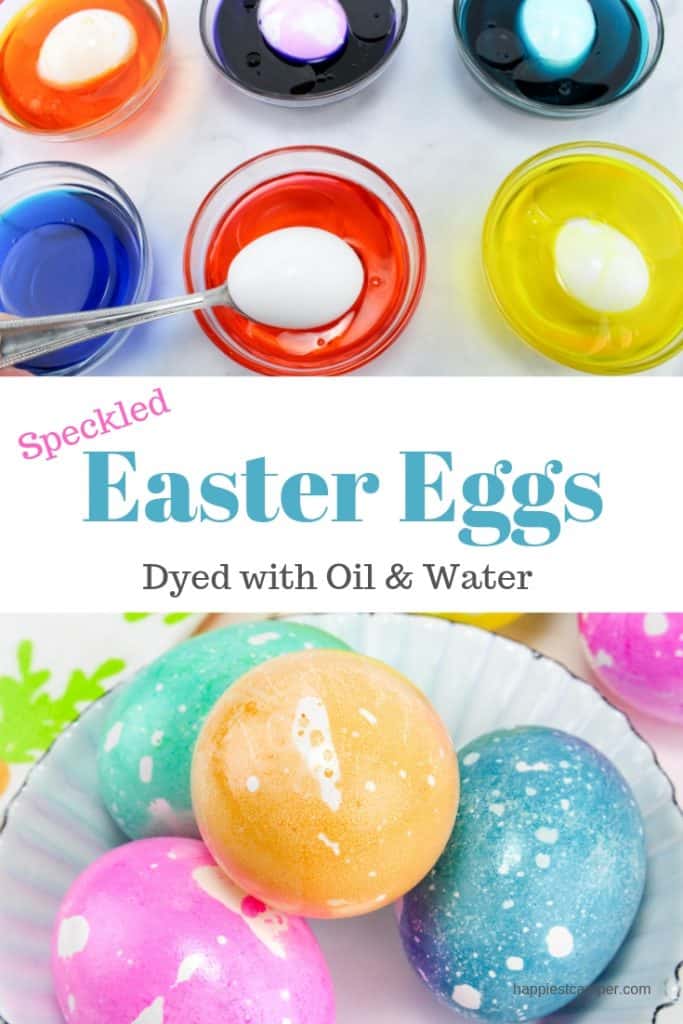
Gently use a spoon to place an egg in each bowl, and let it set for about 10 minutes. The longer you let it set, the darker the color will become.
Turn the egg and leave it for another 10 minutes. (This is why it is handy to have lots of bowls.)
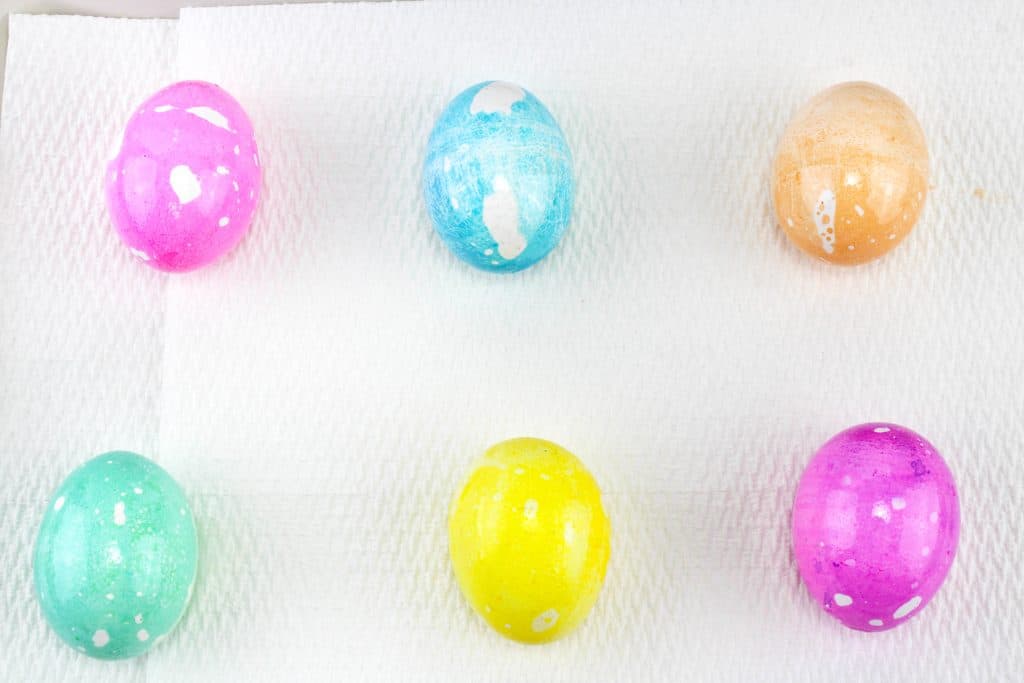
Carefully remove the eggs from the bowls and place them on a paper towel or rag you don’t mind getting dye on.
Give the eggs a quick wipe to remove any excess oil and dye.
Now you have beautiful oil and water dyed Easter eggs! They’re almost too pretty to eat. Almost.
Oil and Water Dyed Easter Eggs

Dye hard boiled eggs with oil and water
Materials
- Hard Boiled Eggs
- Oil
- Food Coloring
Tools
- Several Small Bowls or Cups
- Spoons
- Paper Towels or Rag
Instructions
- Place about 1/3 cup of water in each bowl.
- Add 6-8 drops of food coloring in each bowl and stir.
- Add 1 tbsp. oil to each bow. Stir.
- Use a spoon to place an egg in each bowl. Let set for 10 minutes.
- Turn the egg and let set for an additional 10 minutes.
- Remove the eggs and place them on a rag or paper towel.
- Wipe to remove excess.
Notes
- Any oil will work - olive, canola, vegetable, etc.
- Depending on the size of your bowls or cups, you’ll want enough water to cover about 2/3 of an egg.
- The longer you let the egg set in the mixture, the more vibrant the color will become.
If you enjoyed this Oil and Water Dyed Easter Eggs project, you’ll love these other DIY ideas too!

