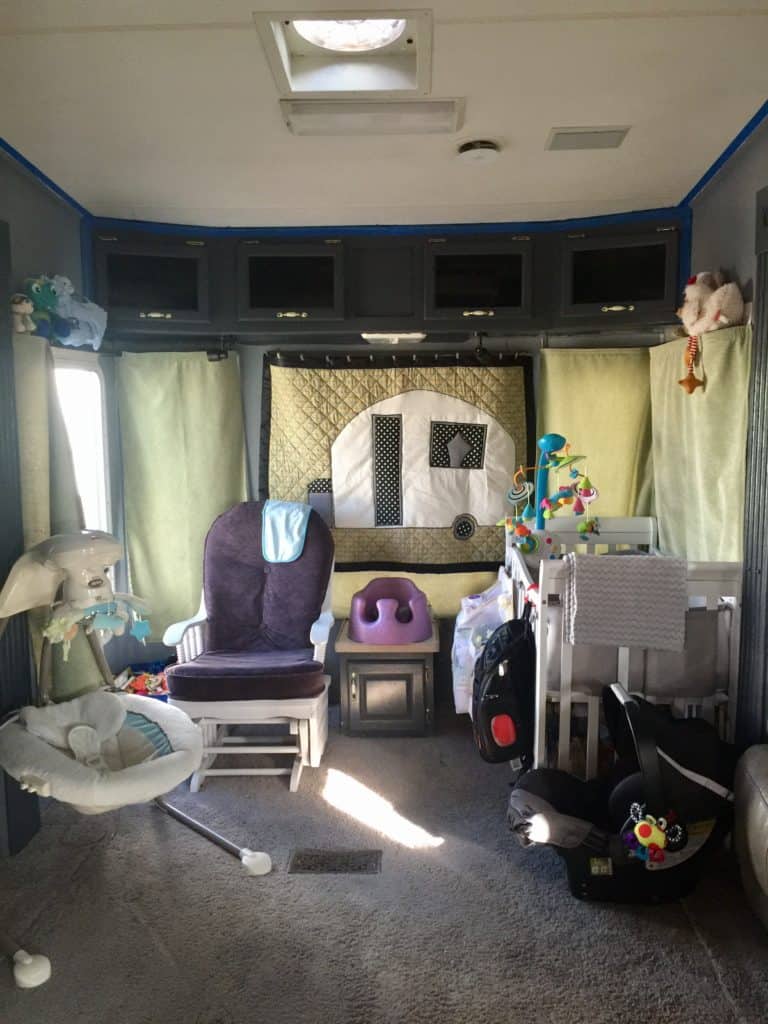
We knew pretty quickly one of our renovation projects would be to replace the RV LED lights in our 2003 fifth wheel. They did not fit my design aesthetic. Look at the photo. Does this fit anyone’s design aesthetic? Seriously, who thought a heavily patterned couch paired with a wallpaper border of leaves looked good? It’s a shame I had already removed the curtains when this photo was taken. They were really something special.

As we continue to renovate the RV, all of the LED lights are slowly but surely being replaced. In addition to its ugliness, this light above the couch was not user friendly. It hung in front of storage cabinets making them difficult to access, and my husband routinely bumped his head on it.

To keep things energy efficient and suitable for boon docking, we chose these low profile LED lights. They measure just one inch in width and illuminate the space better than any other light in the RV. And they are ridiculously easy to install. Trust me.
How to Replace RV LED Lights
First, disconnect the power to the light source. Keep in mind that RV’s are both electric and battery powered. Our 2003 Mirage by Thor 5th wheel has two sets of breakers and a battery switch. The breaker box is concealed in a cabinet on the floor in the center of our nursery. See it there between the glider and crib?
Open the cabinet door to access the main breakers. I flipped each one off and on to determine what they corresponded to, and labeled the box accordingly to avoid this step in the future.

None of them turned off the light I was working to replace. Around the right side of the same cabinet, there is another door (when it isn’t being painted) leading to a second set of breakers.
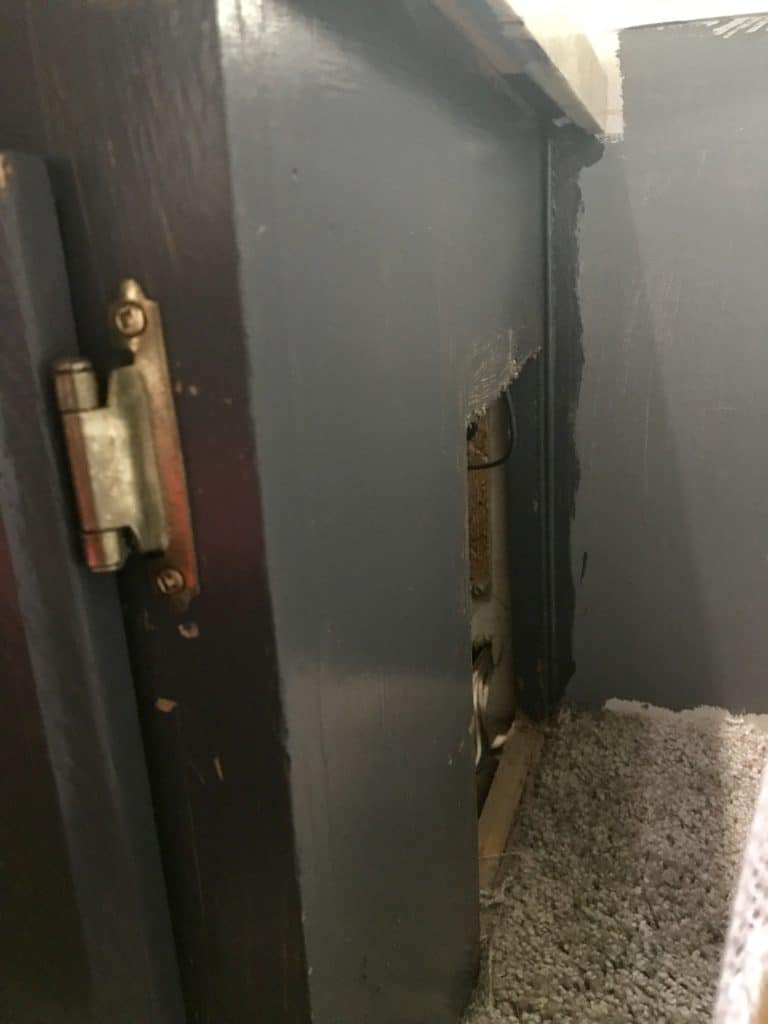
It takes small hands and a good light to figure out what each of these belong to. I finally found the correct breaker and removed it while we replaced the RV LED lights.

Next remove the screws holding the old light fixture in place. A screwdriver or drill will get the job done.

Take note of how the colored wires are connected. White to white and red to black. Then pull off the yellow caps and untwist the wires to free the light fixture.
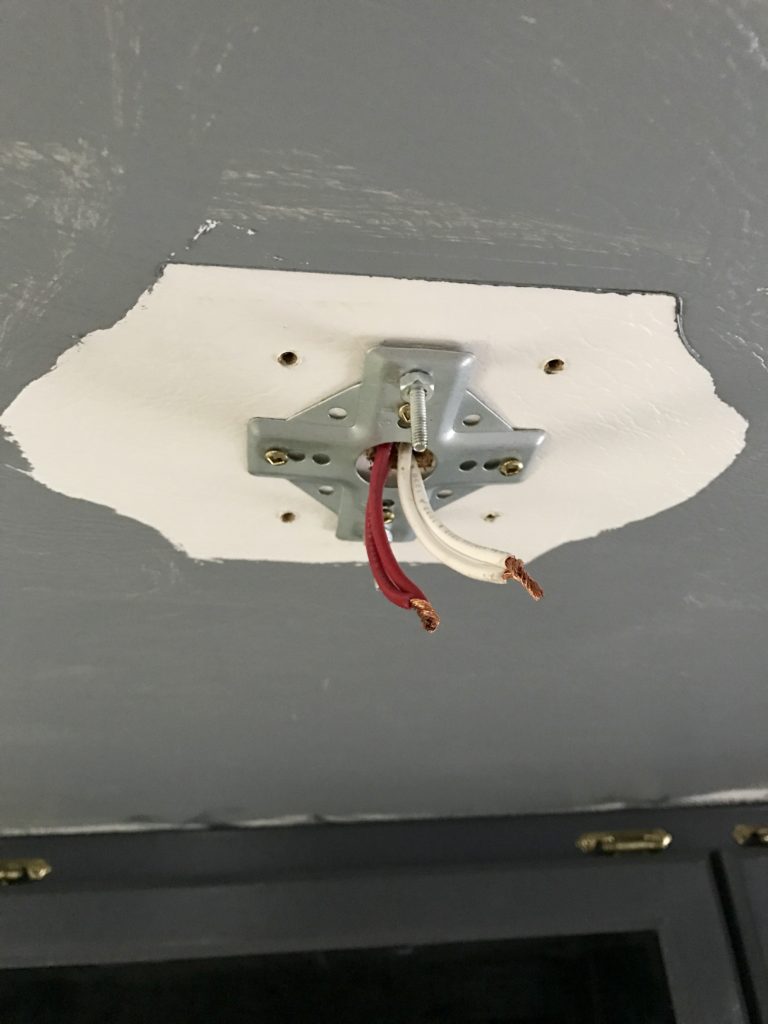
If you’re smarter than me, you’ll paint at this point. Then find a helper to hold the new RV LED light while you reconnect the wires. Everything you need comes with the light fixture. Twist the white wire to the white wire, cap it, and repeat for the red to black wires.


Screw the RV LED light fixture back into the cabinet, replace the breaker, and you’re done!
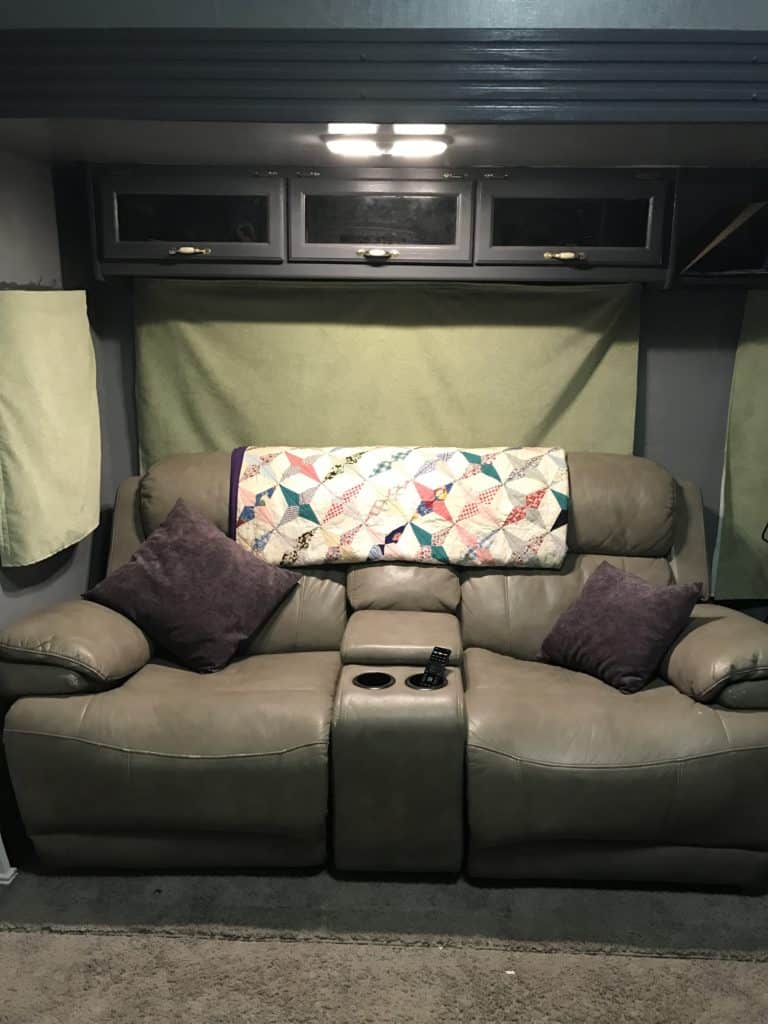
Now stand back and admire your work for a moment. There are only 15 more RV LED lights to replace! I wish I was kidding.
1 thought on “RV LED Lights Replacement Tutorial”